All Image Galleries on The Breaker will be displayed as a Slideshow. Slideshows will be as big as the images you upload – it is worth making sure your images are the same size before uploading them, that way your gallery will smoothly transition between photos.
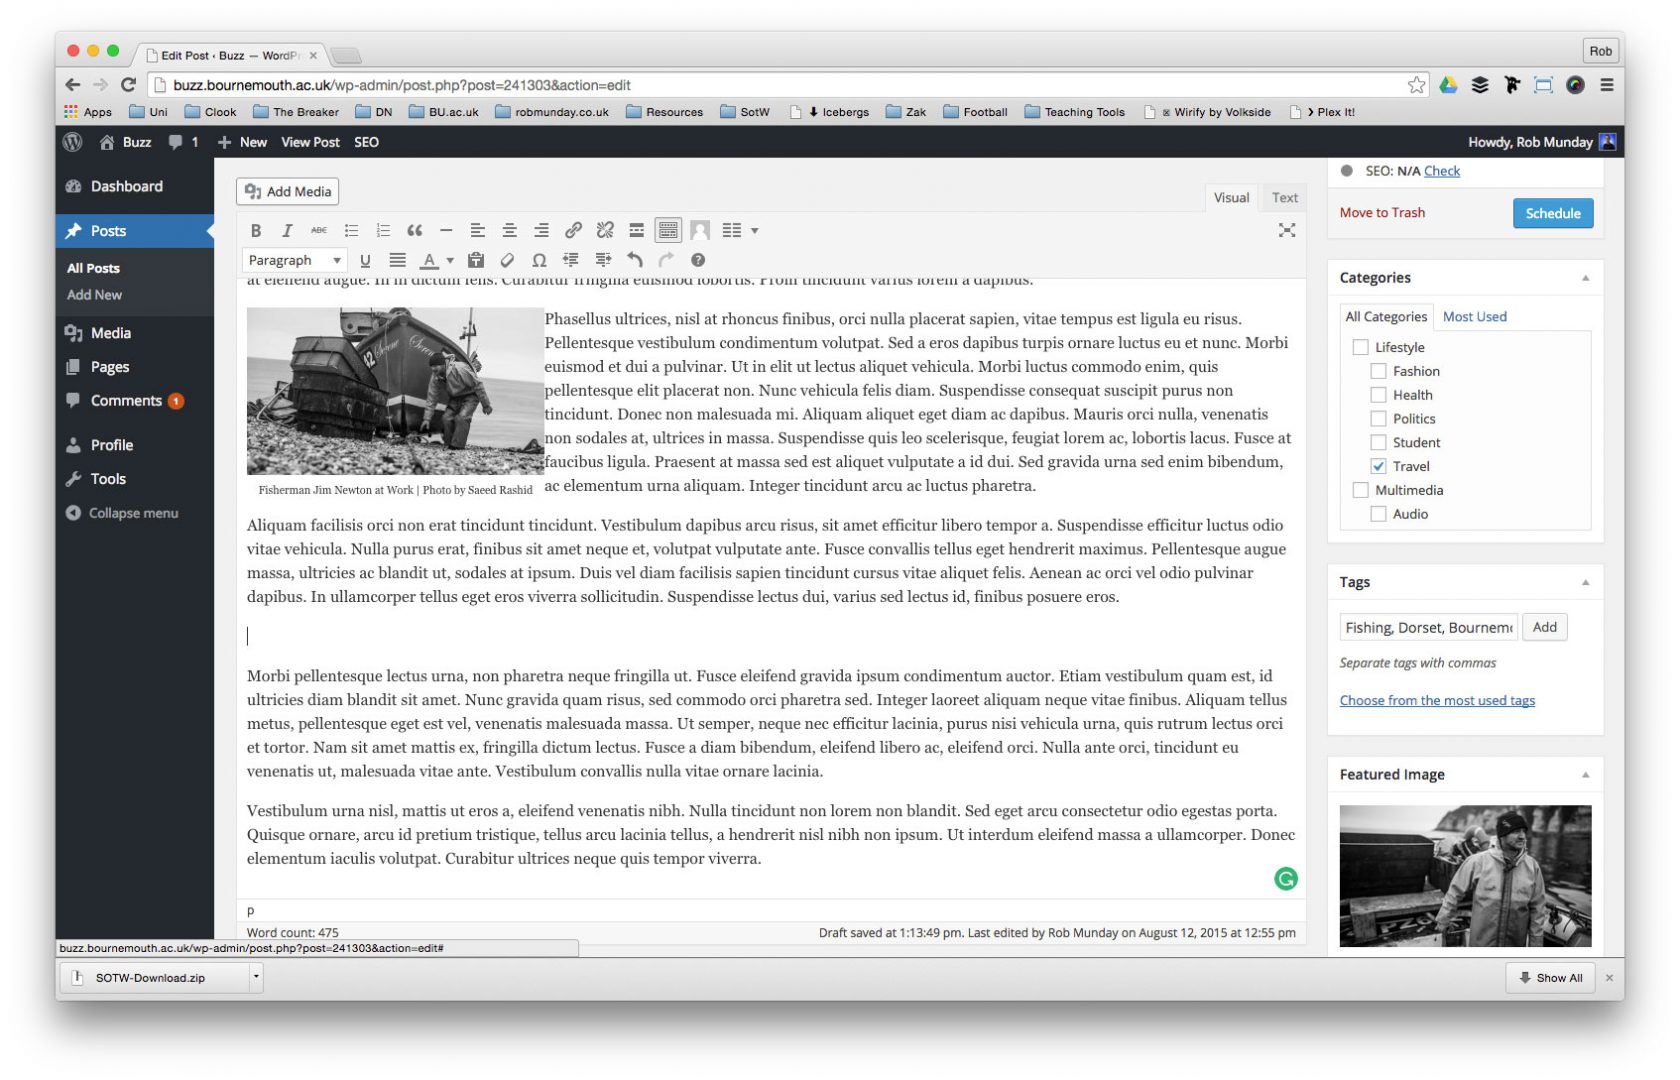
To insert a Gallery into your Post – first place your cursor in your post where you want to add your slideshow.
With your cursor in place, click on the Add Media button
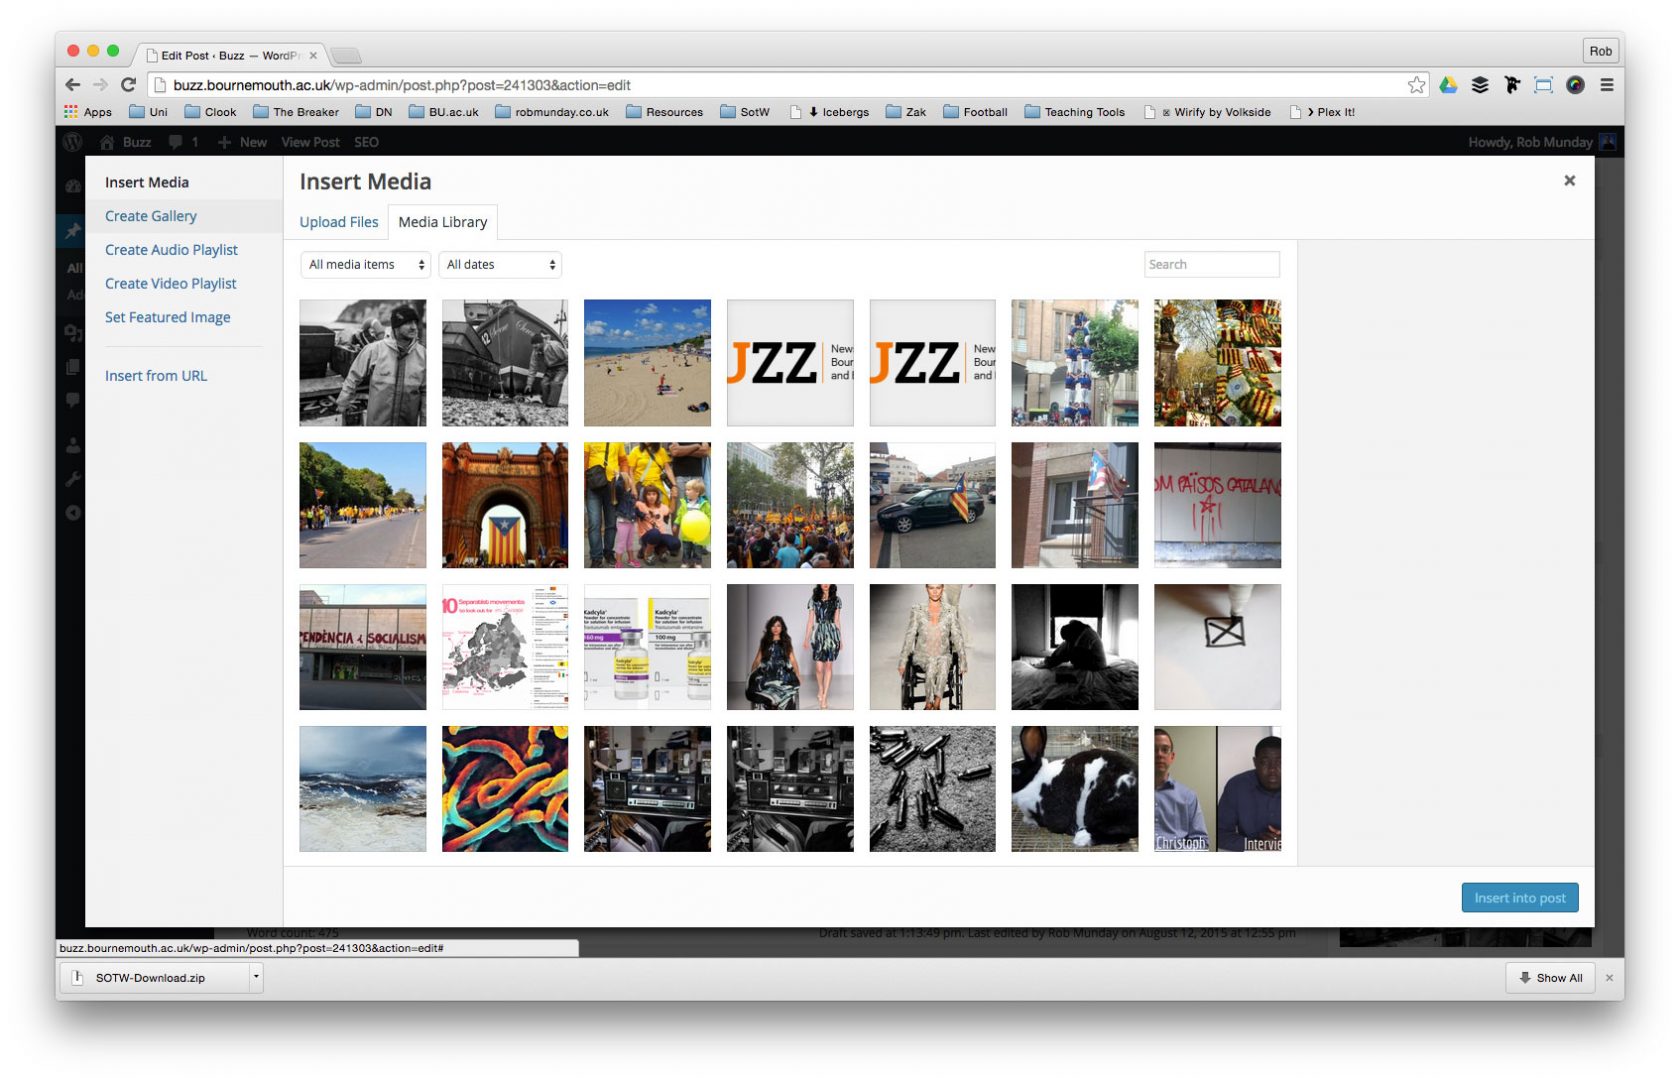
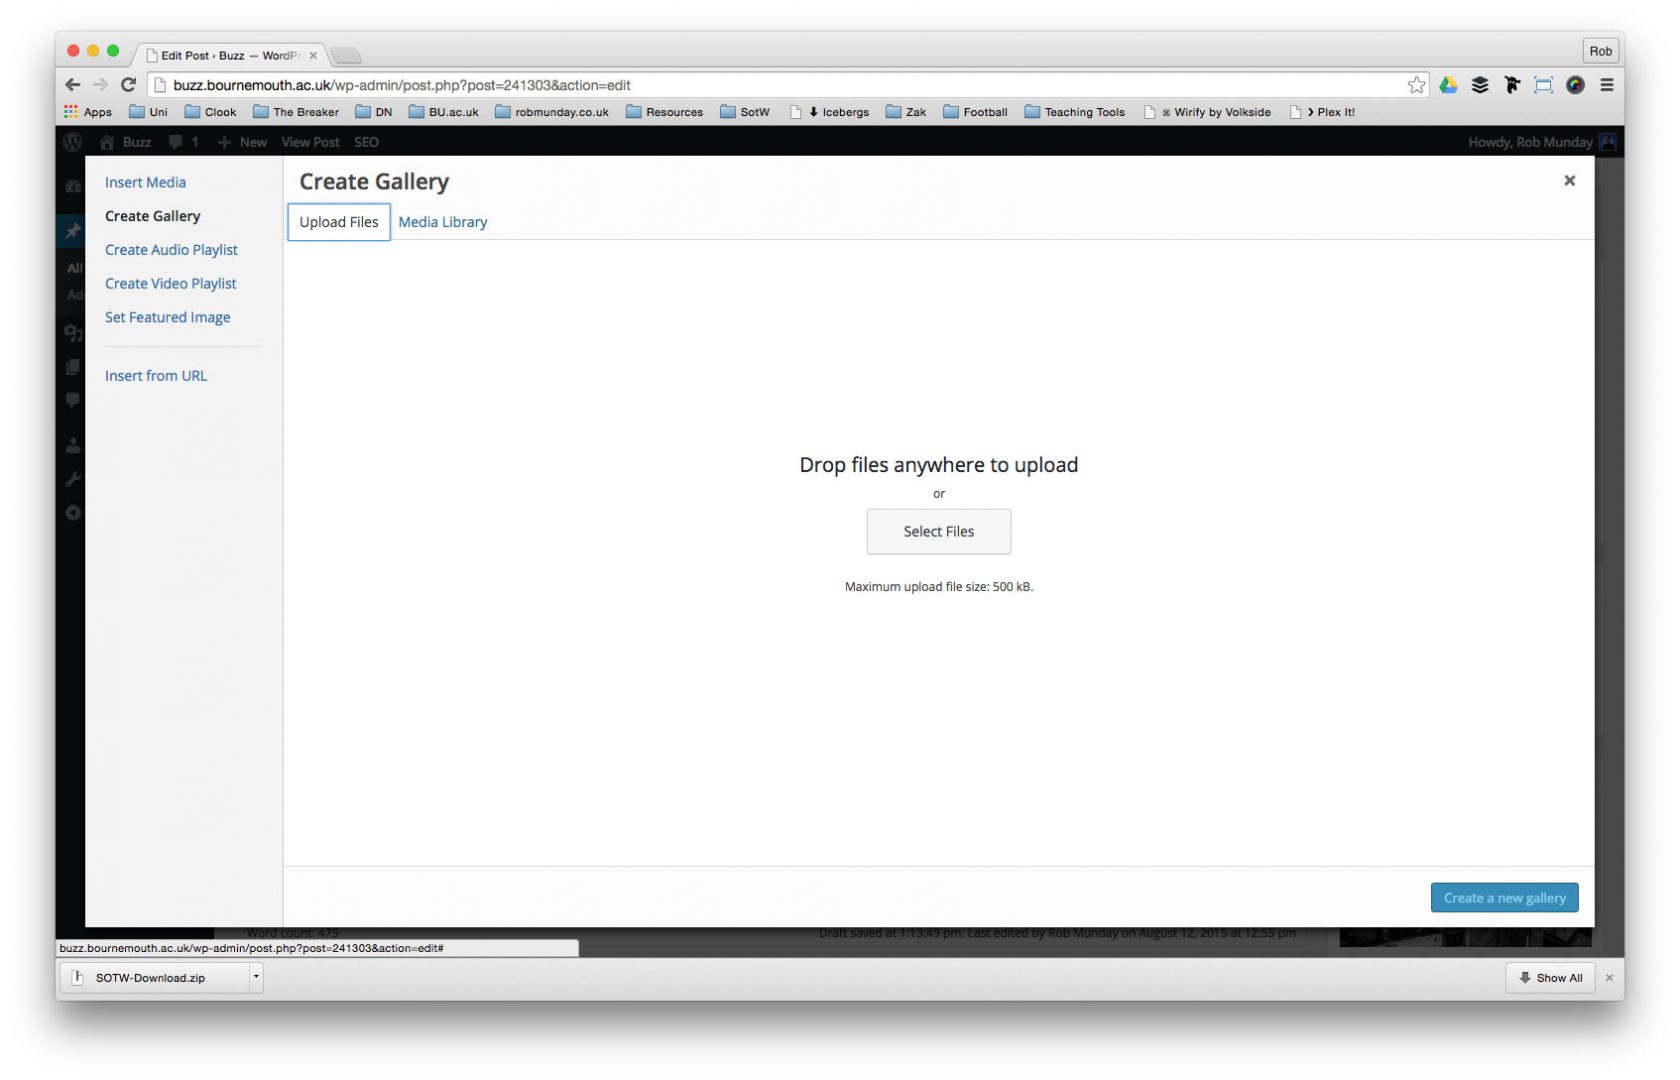
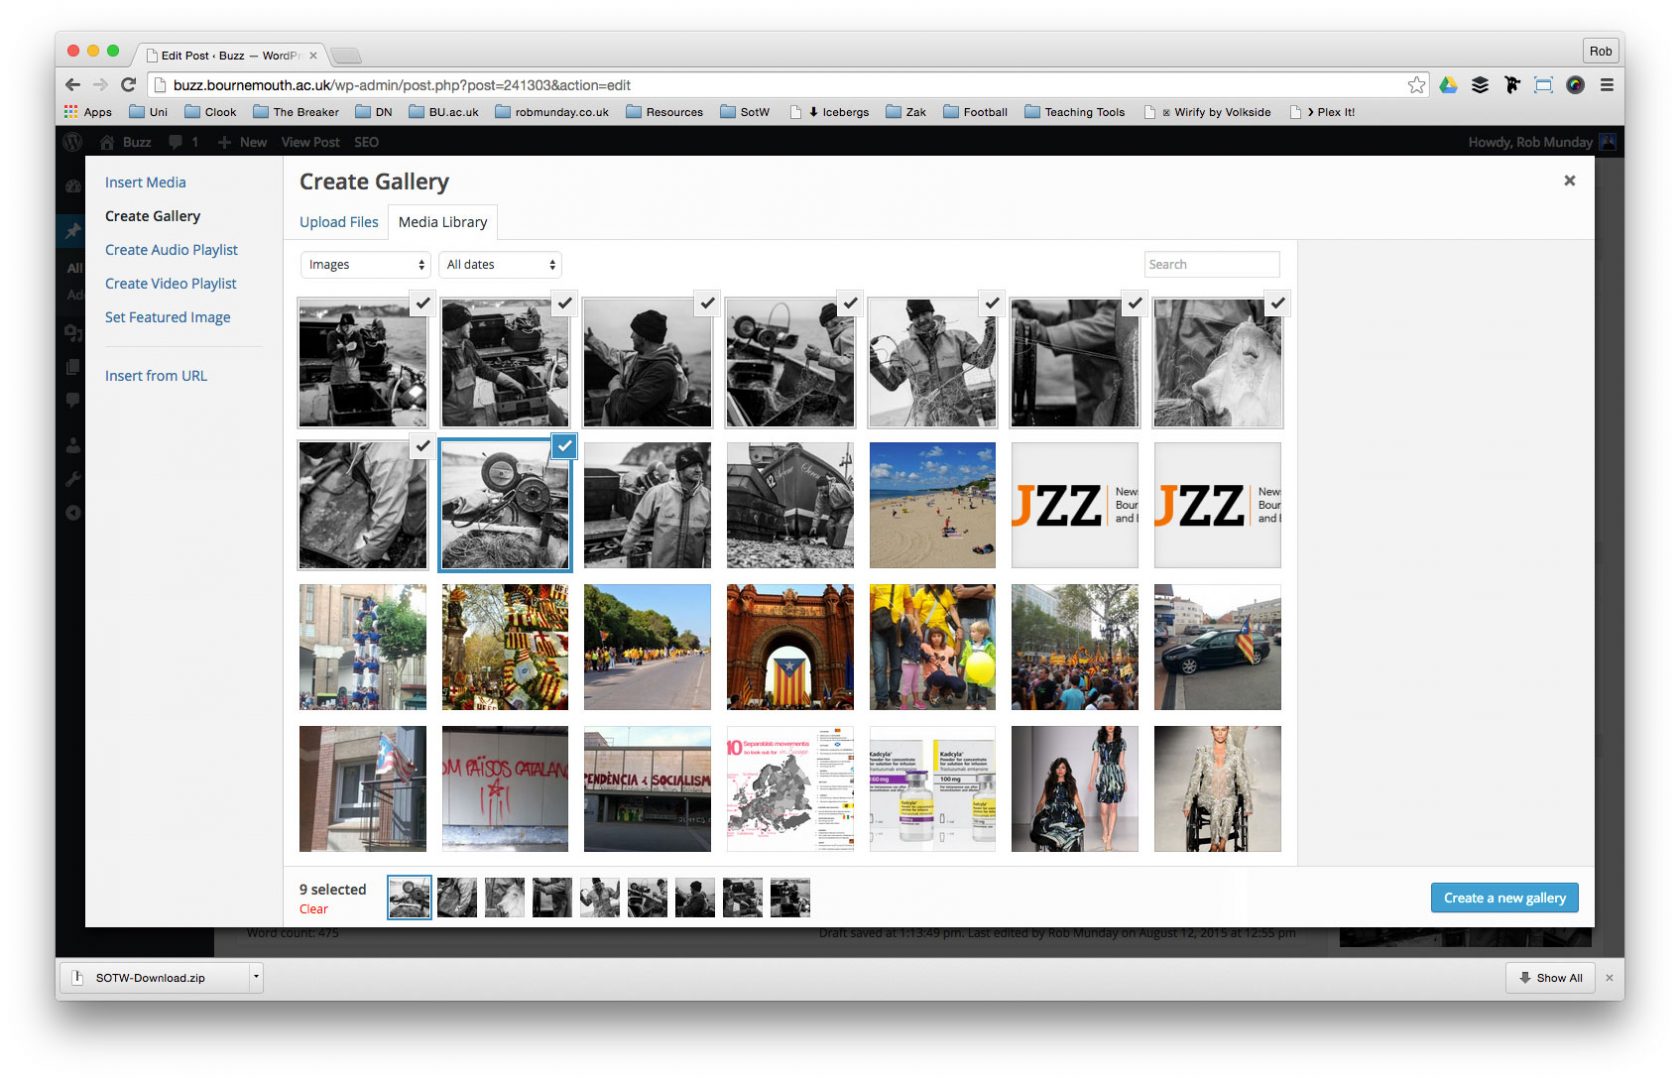
In the Insert Media window, select Create Gallery from the options down the left-hand side.
To add your images, click on the Upload Files tab (if your images are already uploaded go to the Media Library tab) and either drag and drop your files onto this window or click on the Select Files button to browse to your images.
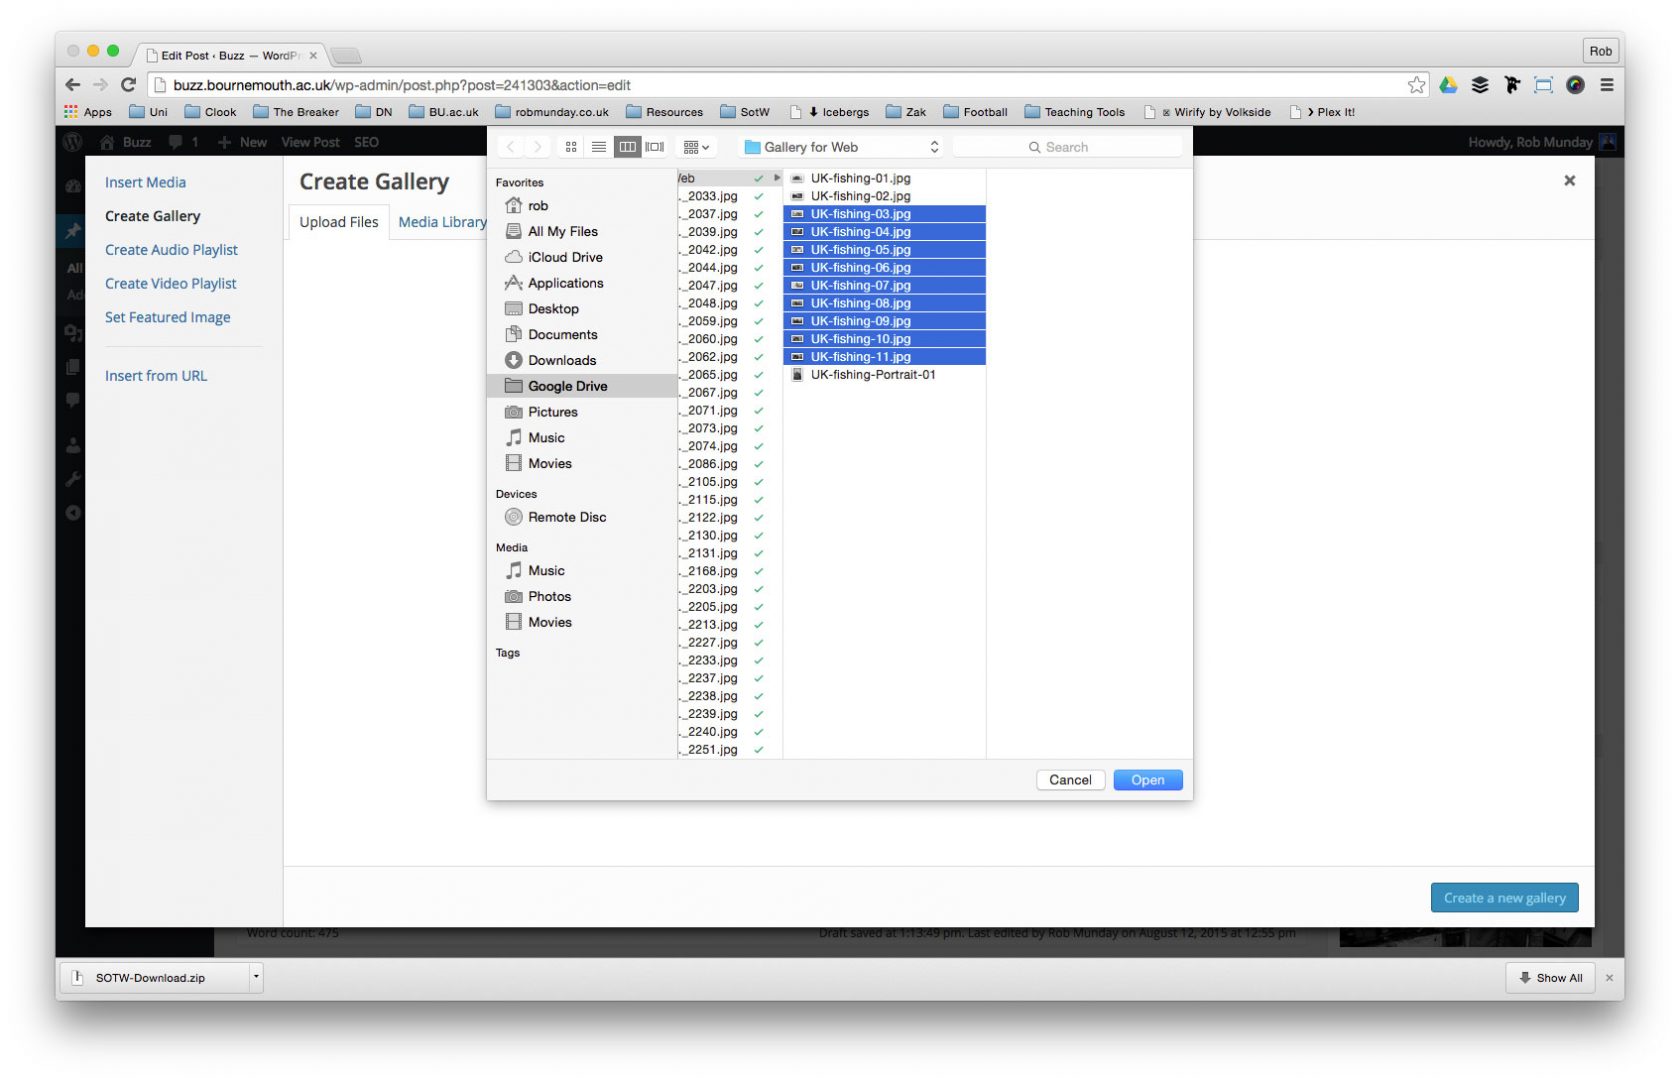
If you clicked on the Select Files button, browse to your files in the Finder window that has appeared and select all your files for your gallery – you can select multiple files by either clicking on the first file, holding the shift key and clicking the last file at the bottom of a list of files or hold the cmd key down and select multiple files.
Once you have selected all the files you want to include, click on the Open button to upload them.
Now your files are all uploaded, ensure they are selected (tick icon in top right corner of image) and click on the Create a New Gallery button.
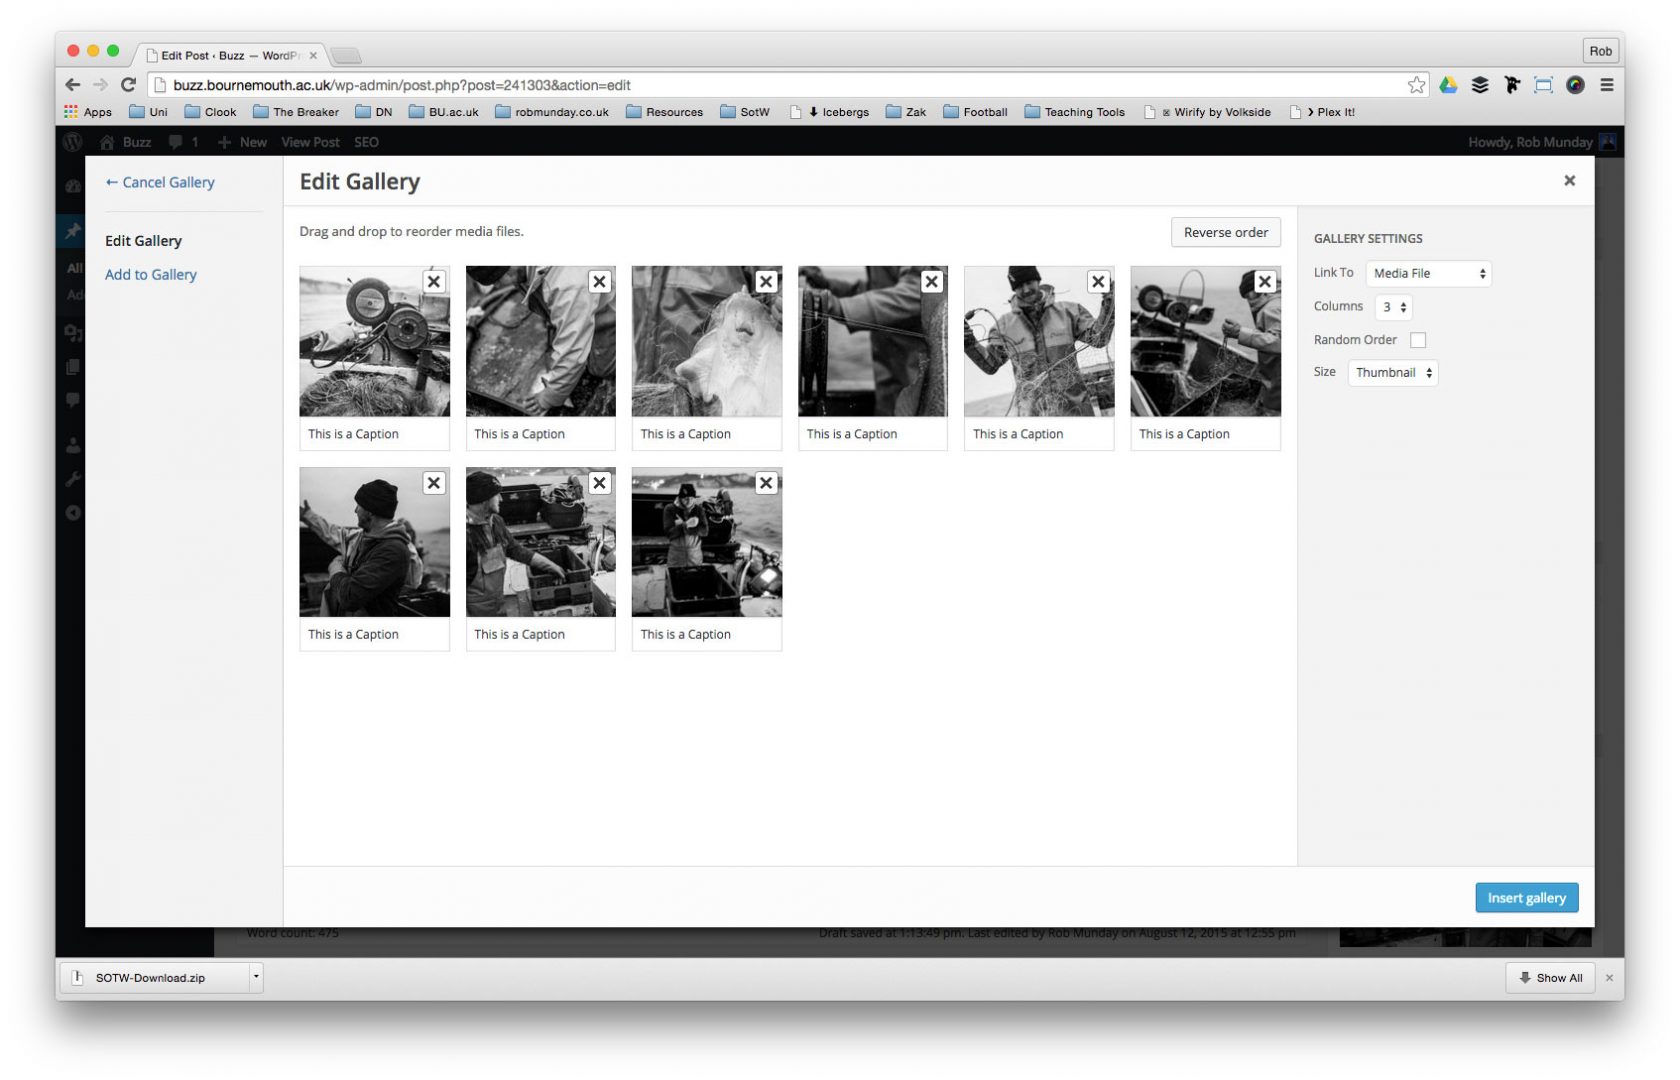
This will take you through to the Edit Gallery page – here you should add any Captions to your images that you want to display.
Under the Gallery Settings – you don’t need to worry about these options and these will all be automatically decided by BUzz.
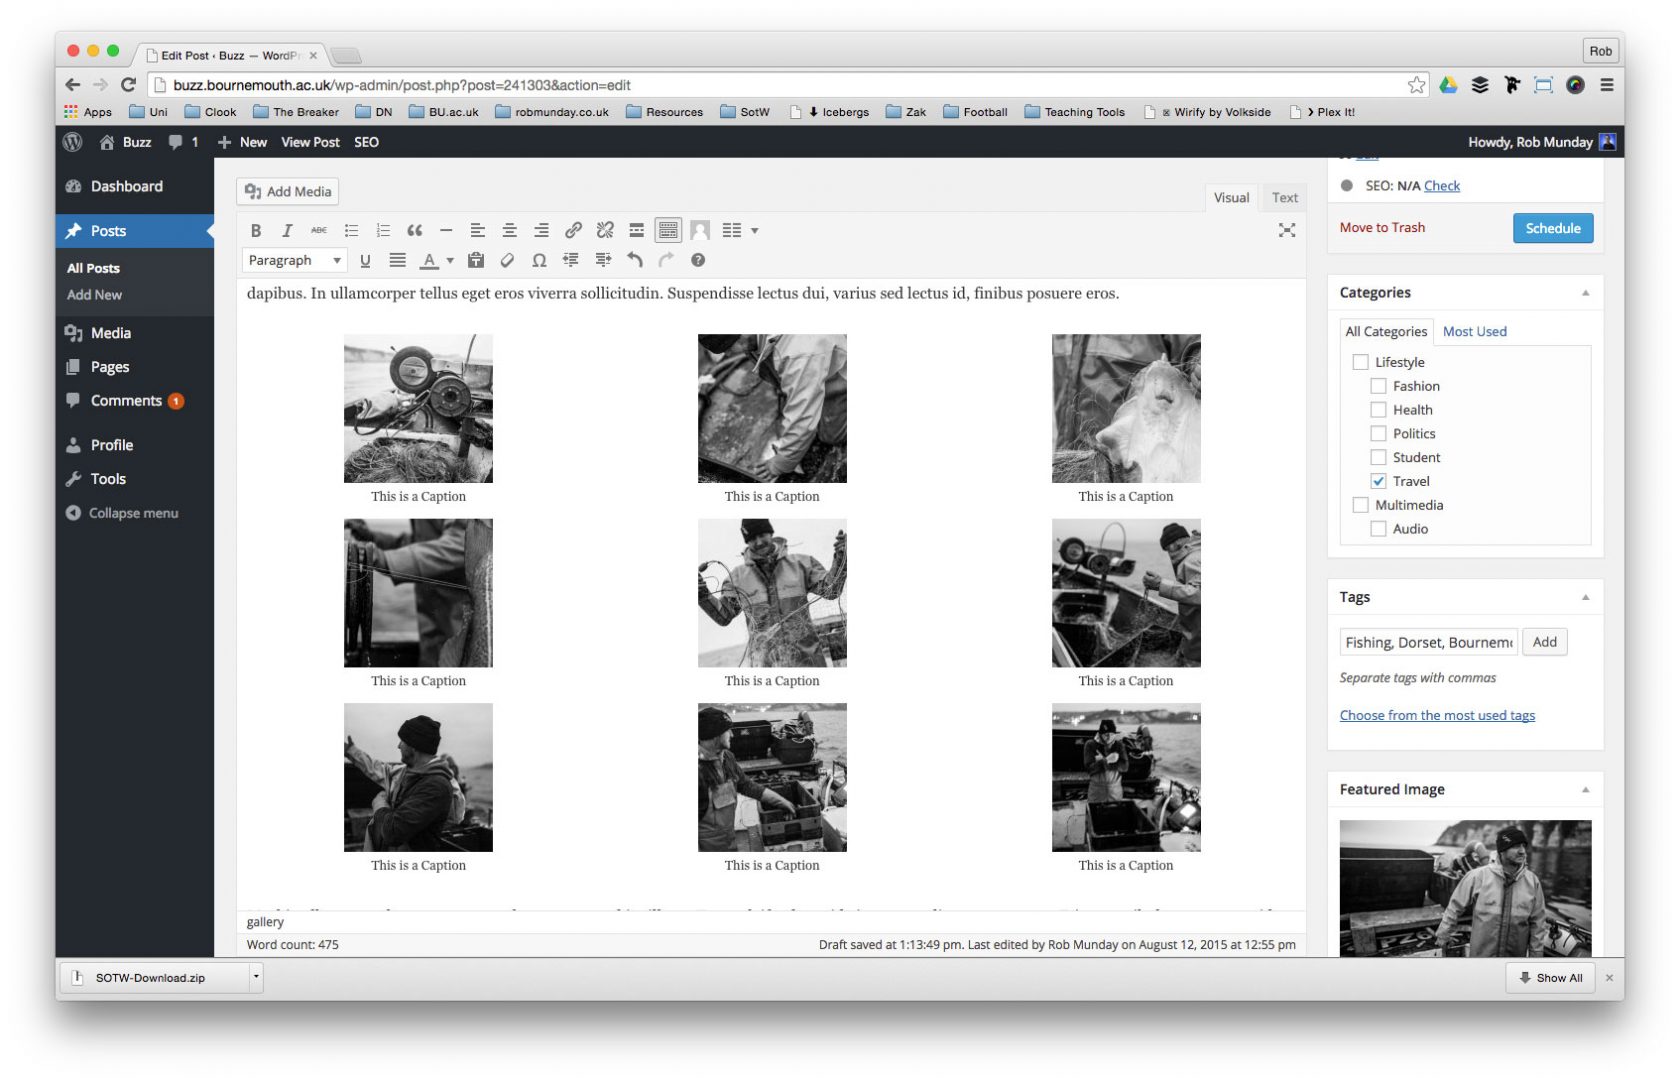
Despite showing as a thumbnail grid in your editor, when you save and preview your post all galleries will show on the front end of The Breaker as a Slideshow.


