The Breaker website relies heavily on the ‘Featured Image’ option in WordPress and wherever you see images on the homepage, these are all defined by the ‘Author’ of the ‘Post’ during setup. It is the responsibility of you as the ‘Author’ of the ‘Post’ to source images, whether taken yourself or copyright free, for use in your articles.
Featured images shouldn’t be larger than 1920px wide and always need to be Saved for the Web before uploading. All featured Images should be Landscape in orientation and not Portrait.
Click on the Set featured image link in the Featured Image panel to add your chosen image
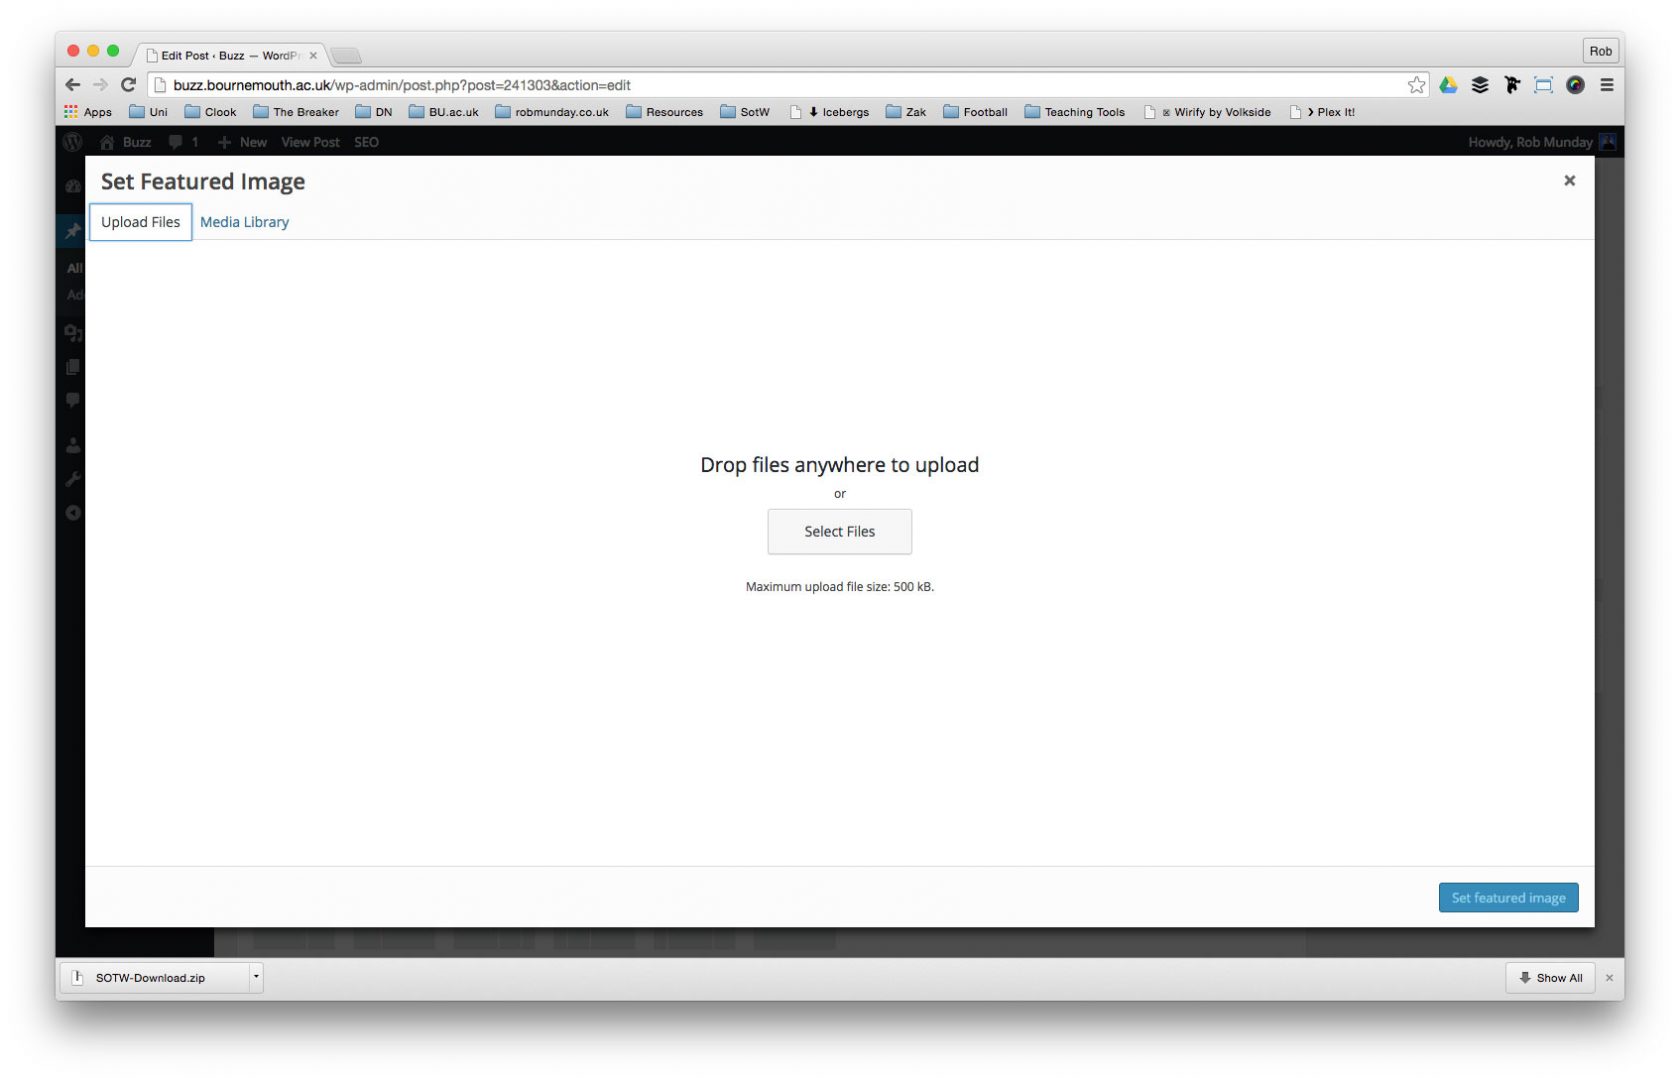
In the Set featured image window that appears click on the Upload Files tab.
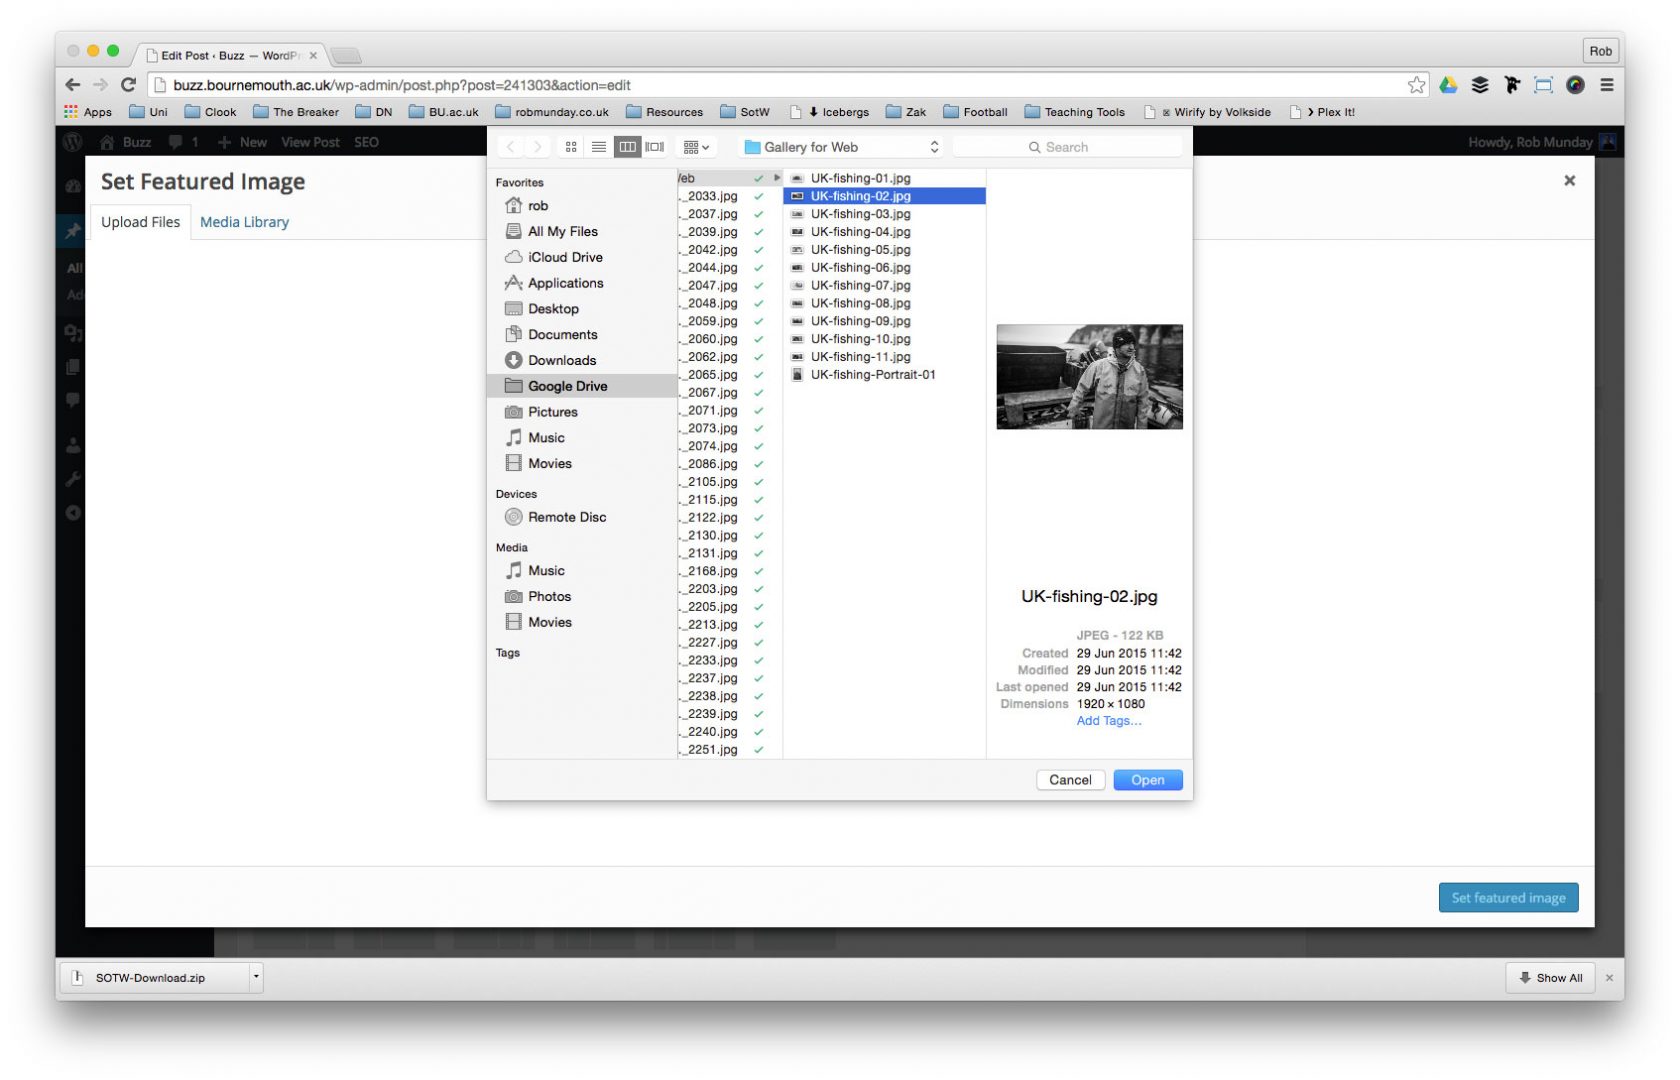
To upload either drag files from your finder window onto the Browser or click on the Select Files button to browse to your images.
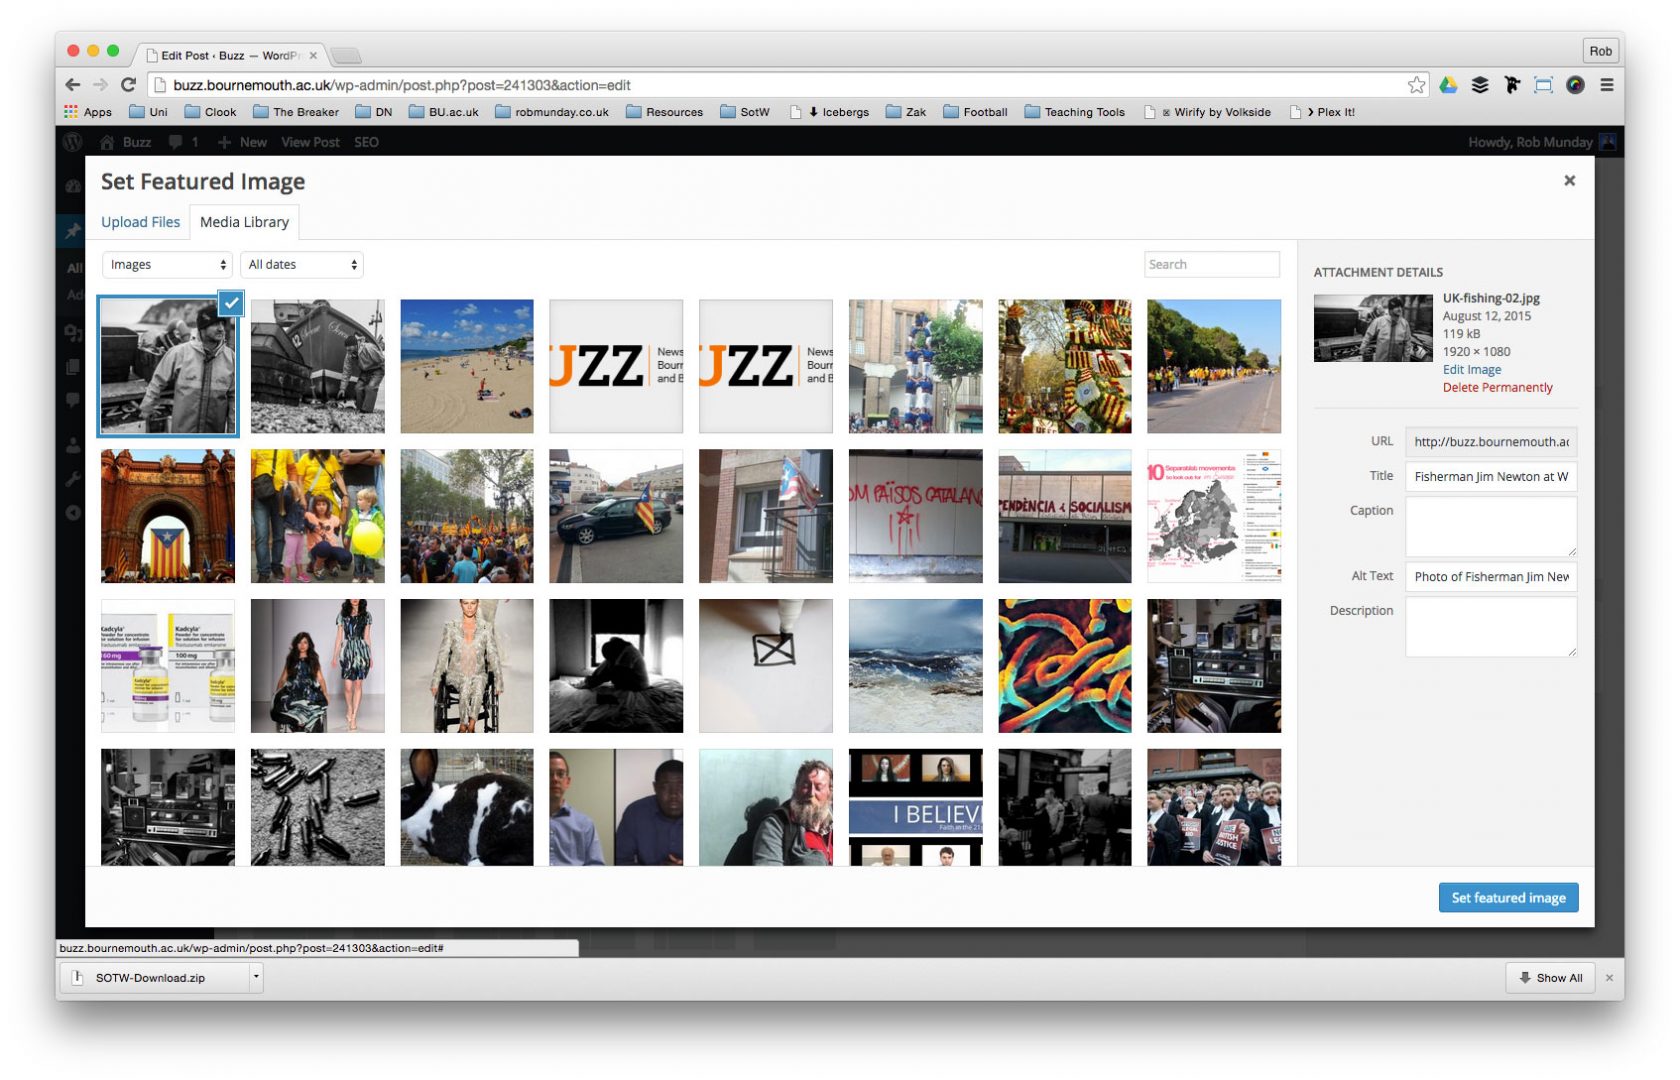
If you’ve already uploaded an image to your Post you can select that image to use as your featured image from the Media Library tab in the Set featured image window.
If you clicked on the Select Files button, browse to and select your image file and click on the open button.
When your image has been uploaded, fill in all necessary fields – for more details see the Uploading Images guide. above
Once all fields are complete, click on the Set featured image button and the window should automatically close.
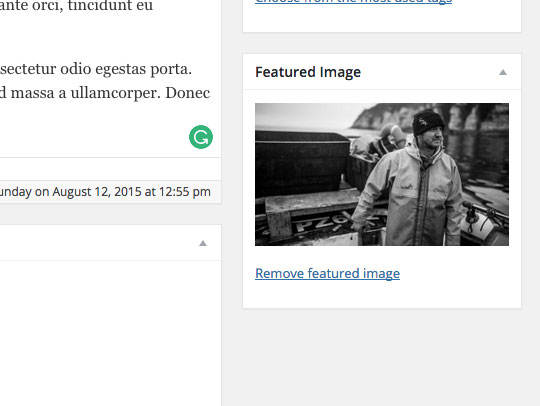
Once your image has been set, you should now be able to see a preview of it in the Featured Image panel.


