Step 1.
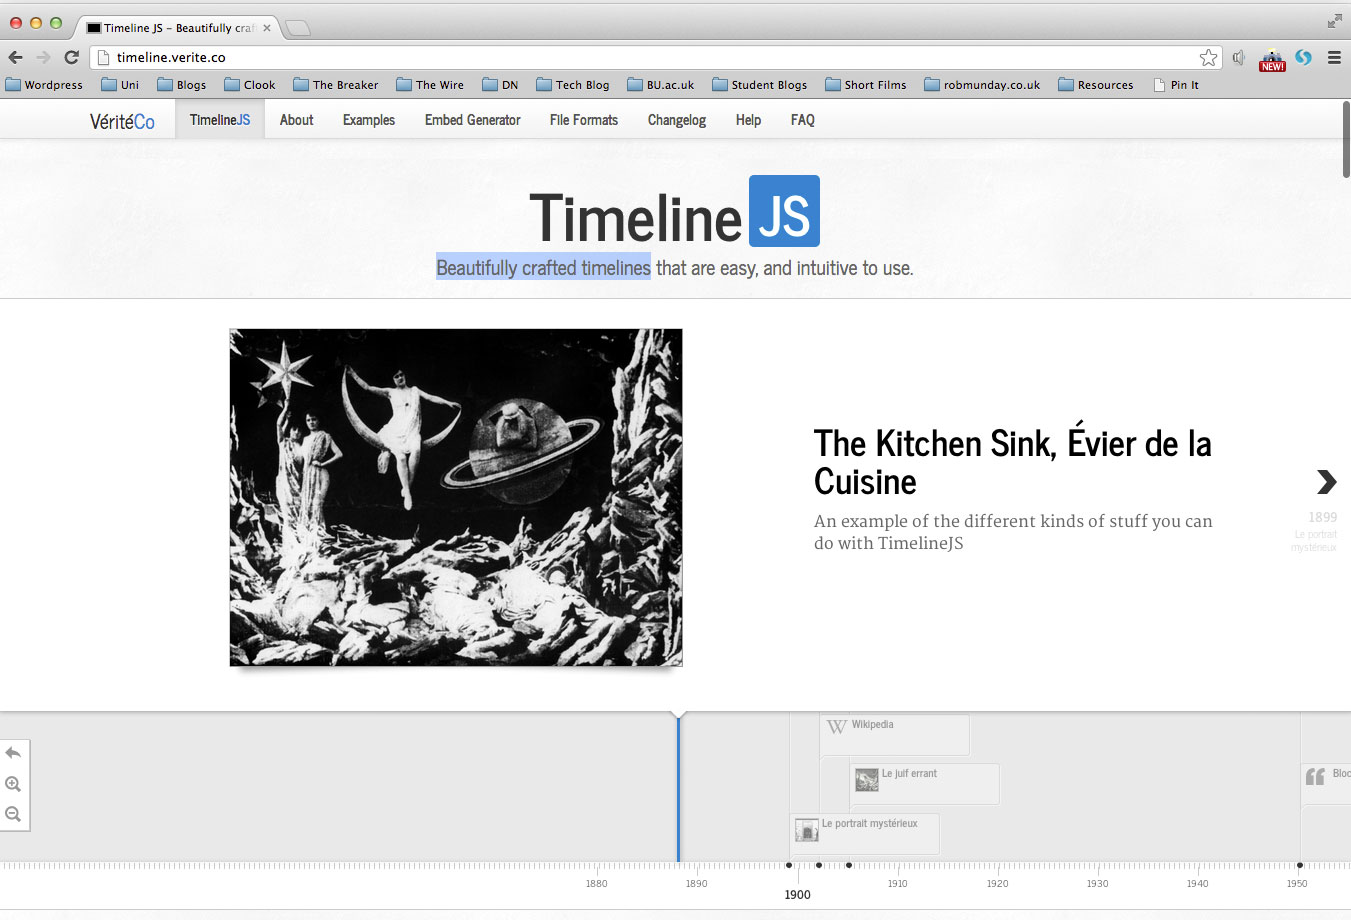
Create beautifully crafted timelines by simply filling in a Google Spreadsheet and using timeline.verite.co
TimelineJS can pull in media from different sources. It has built in support for:
Twitter, Flickr, Google Maps, YouTube, Vimeo, Dailymotion, Wikipedia, SoundCloud and more media types in the future.
Step 2.
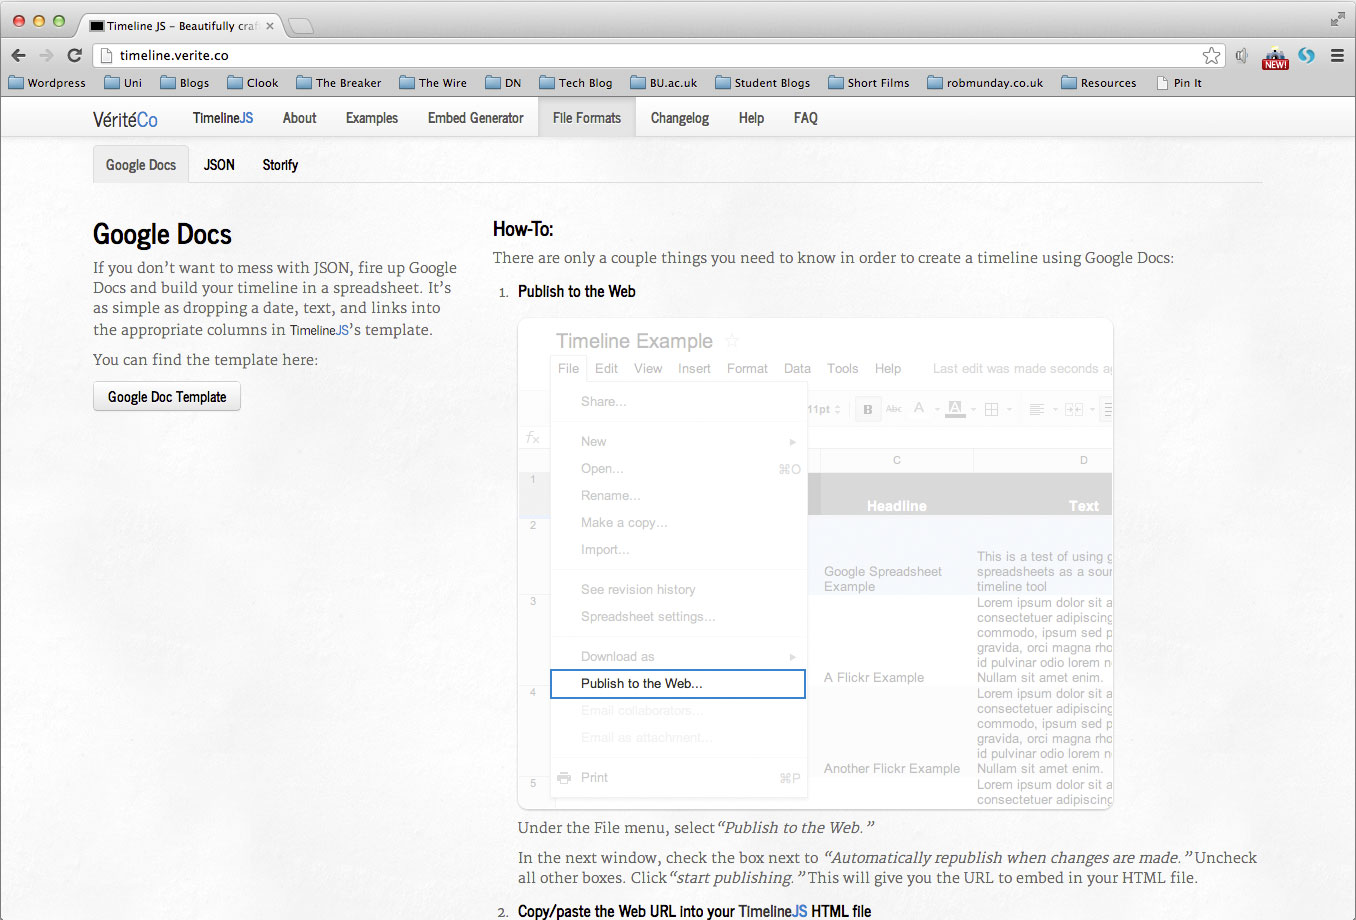
Click on the ‘File formats’ link in the top menu to locate the Google Spreadsheet template.
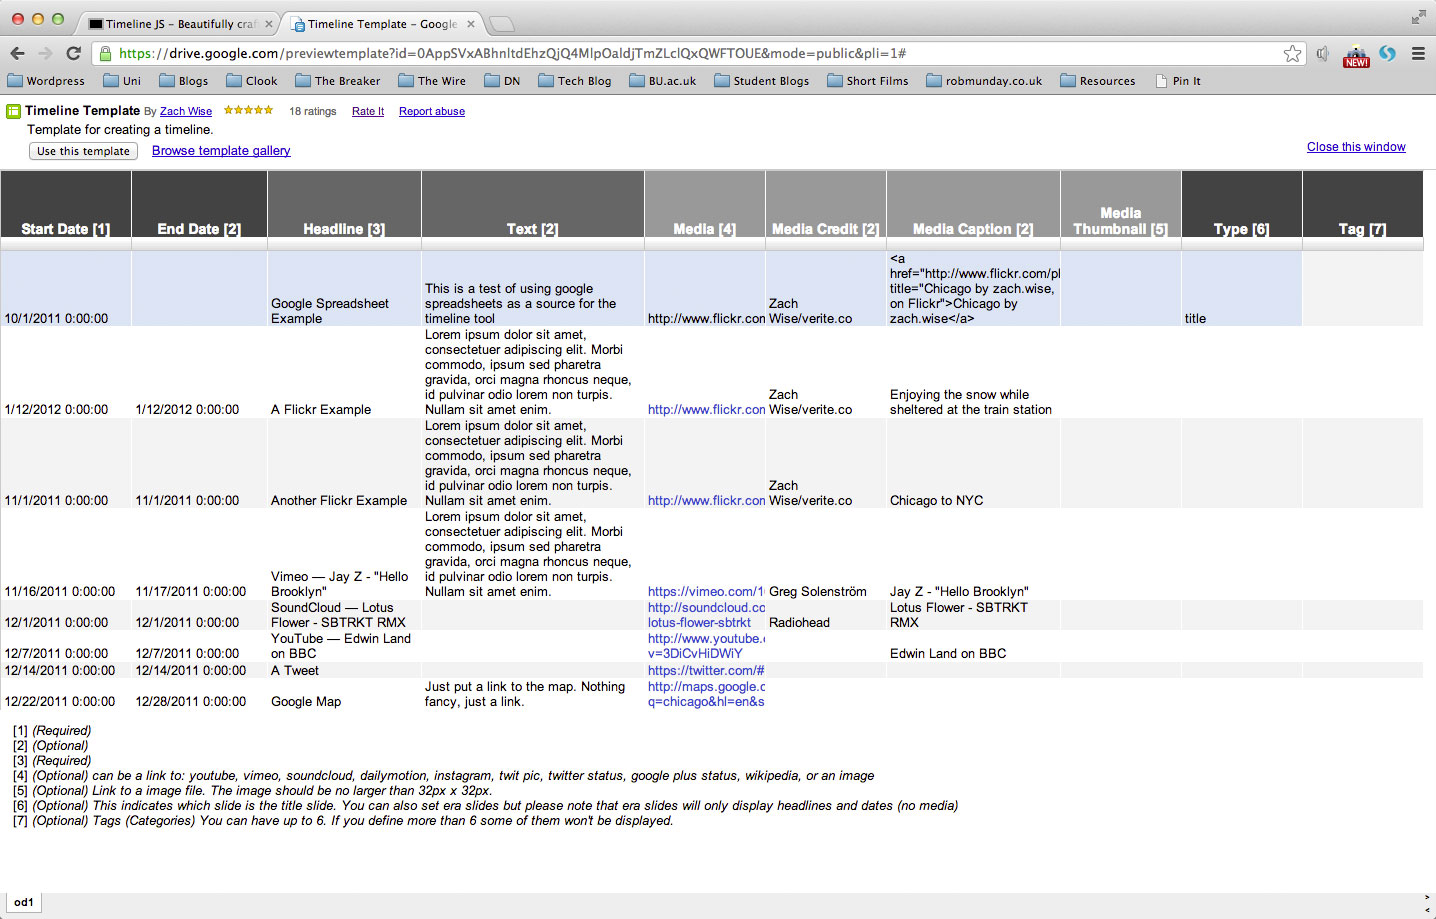
Click on the ‘Google doc Template’ button to open the Google Spreadsheet and start building your timeline.
Step 3.
Once the spreadsheet is open, click on the ‘Use this Template’ button to start editing the template
Step 4.
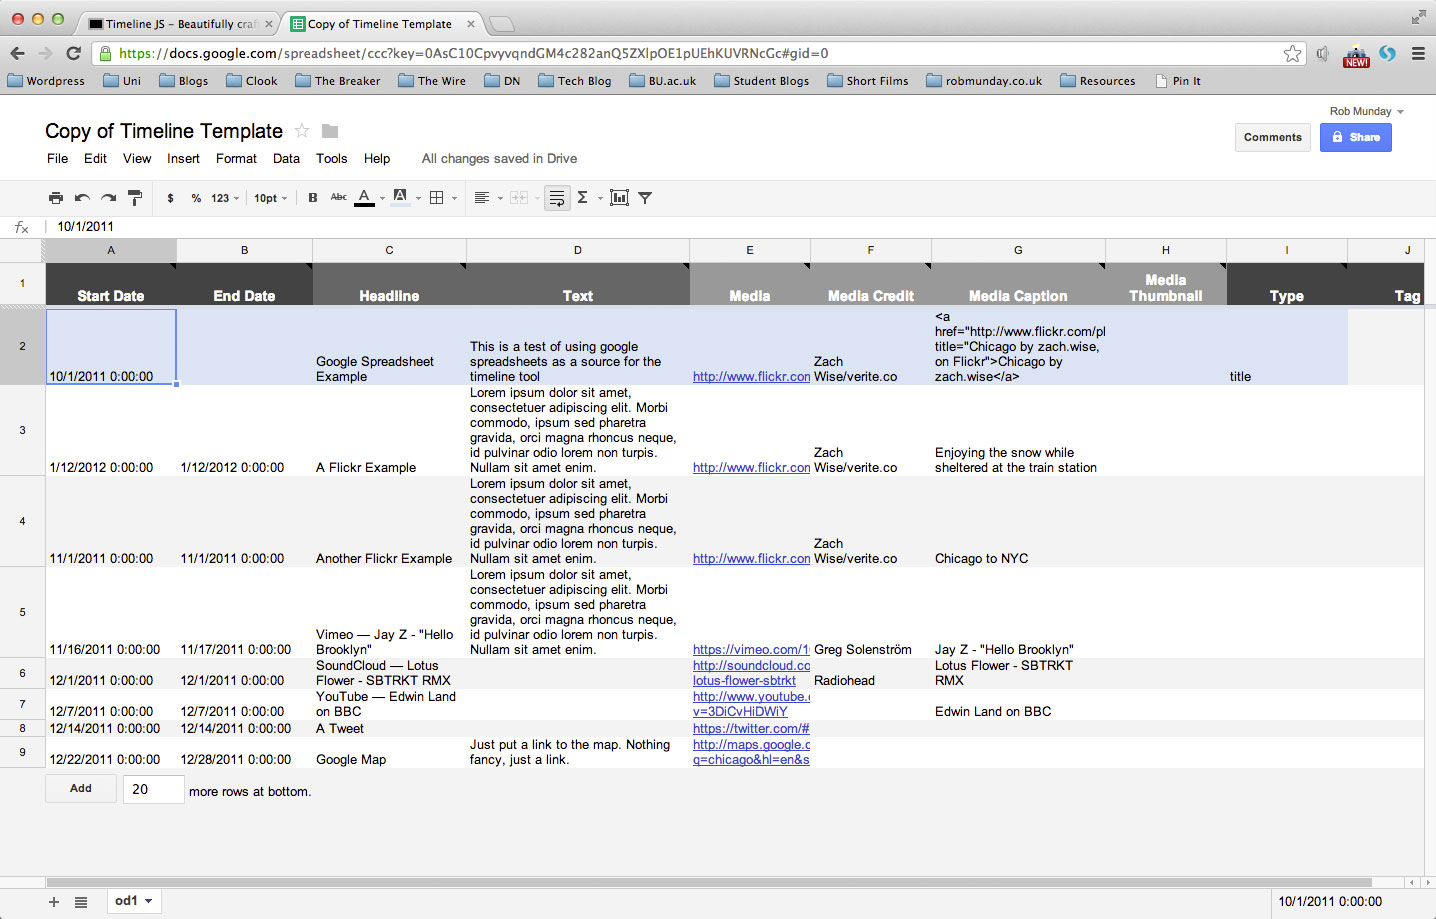
The spreadsheet is now ready to be edited and your timeline ready to be built. Whilst not every field needs to be completed to have a functioning timeline, the more fields you complete and the more media you add, the more engaging your timeline will be.
Step 5.
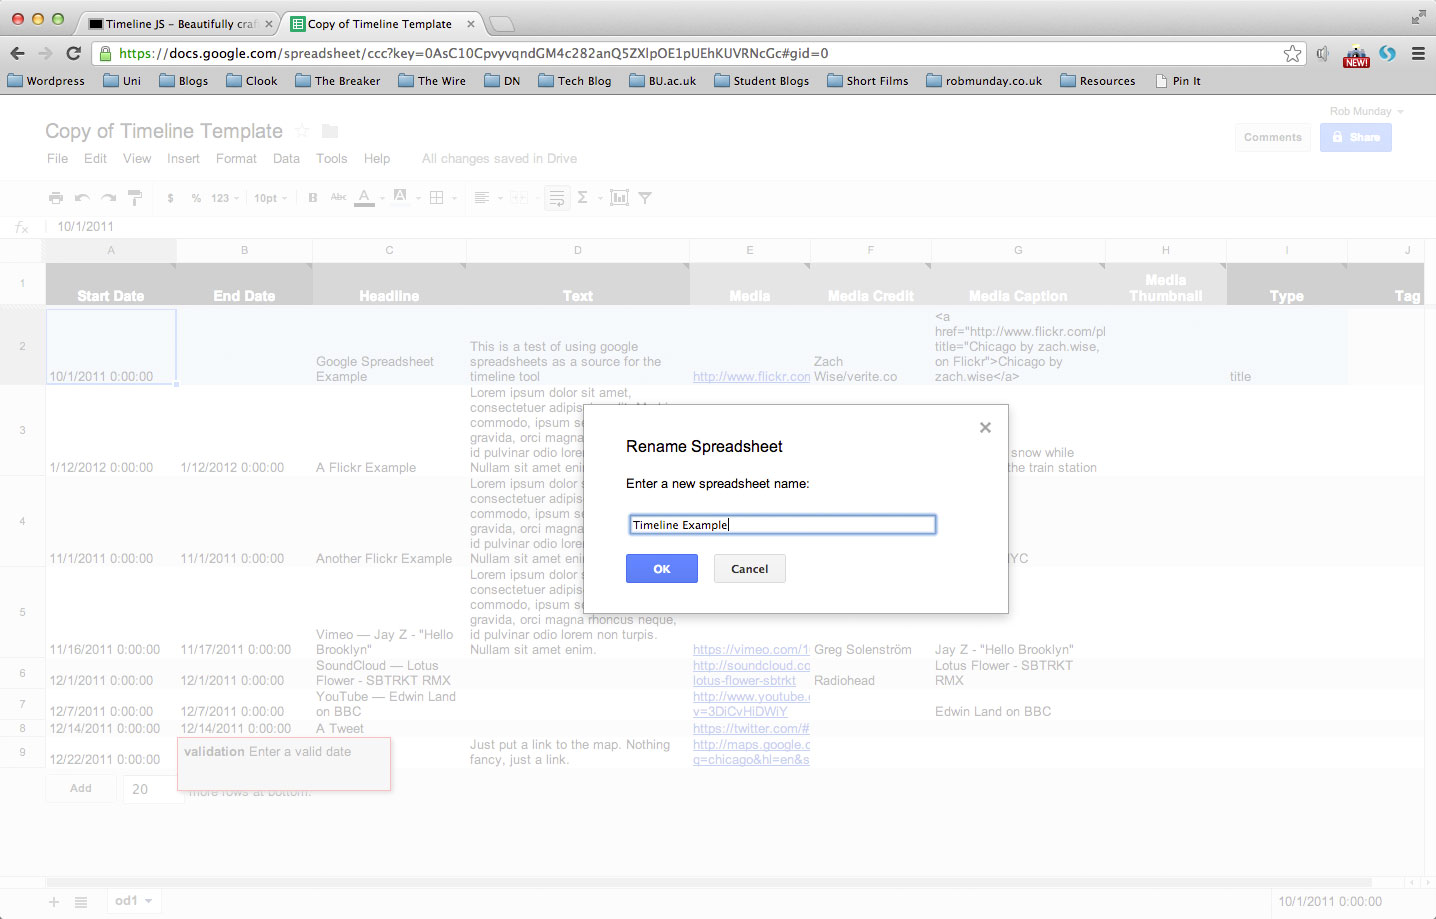
To rename your spreadsheet, double click on the title at the top of the page.
Enter the new name into the pop-up window that appears and click ‘OK’ to confirm
Step 6.
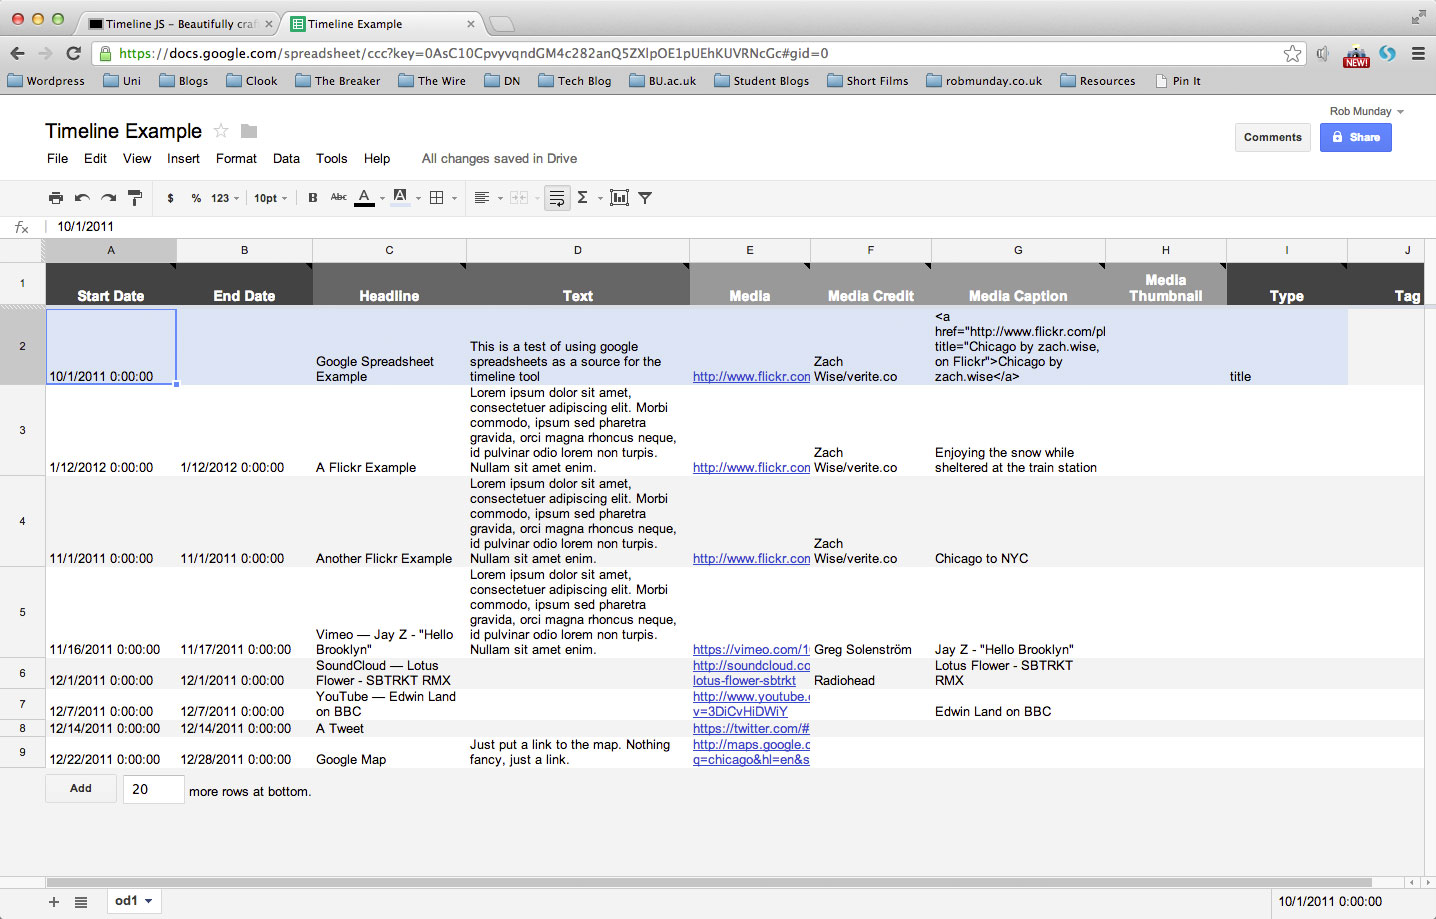
You can now begin to add entries for your timeline.
Every entry needs to have a ‘Start Date’ & a ‘Headline’ added for the Timeline to work, all other fields are completed if necessary.
Step 7.
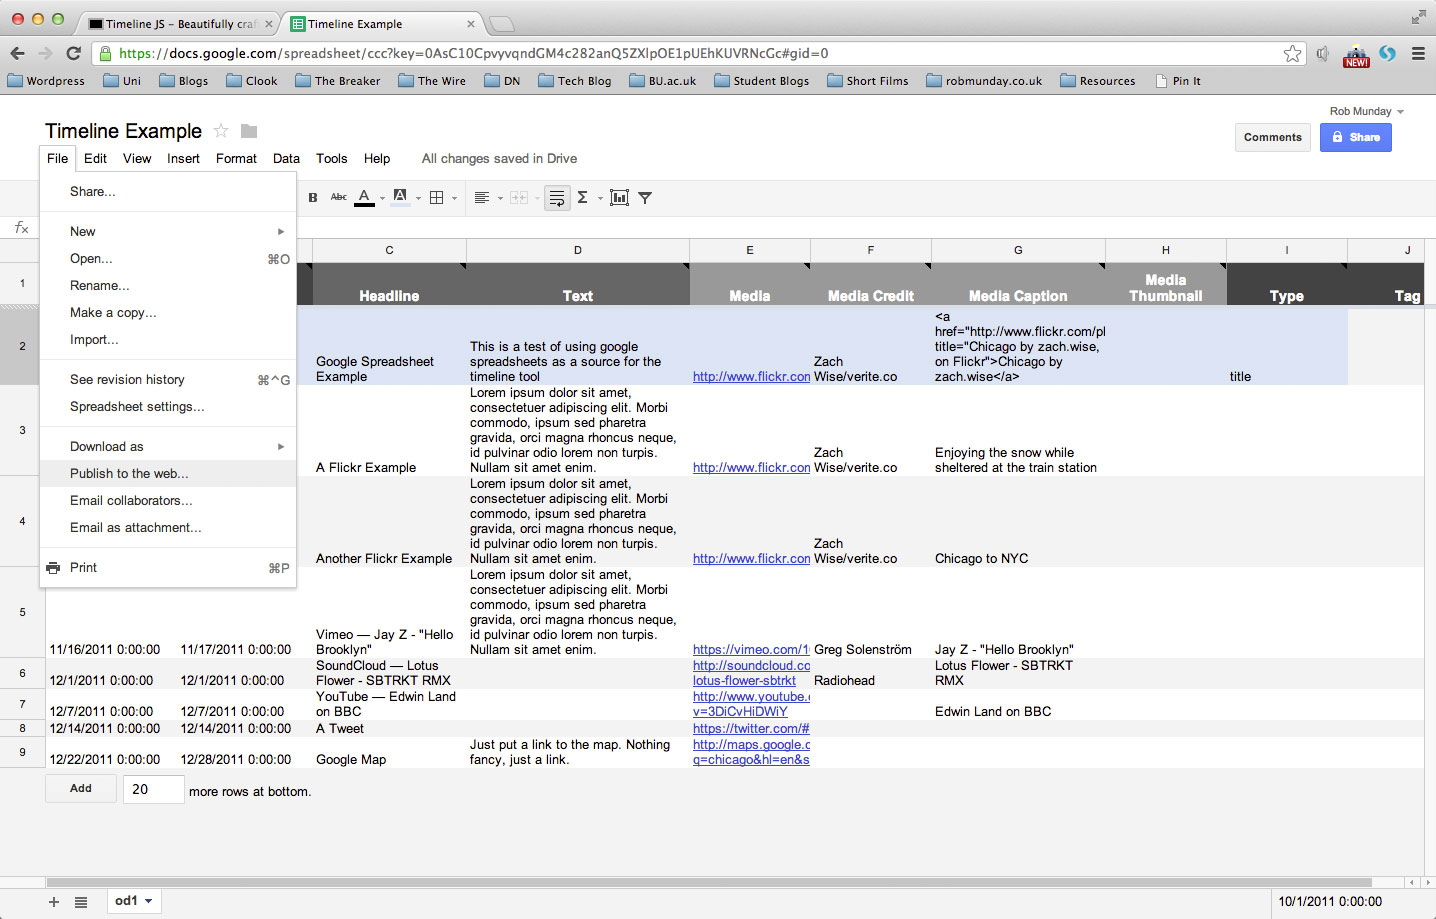
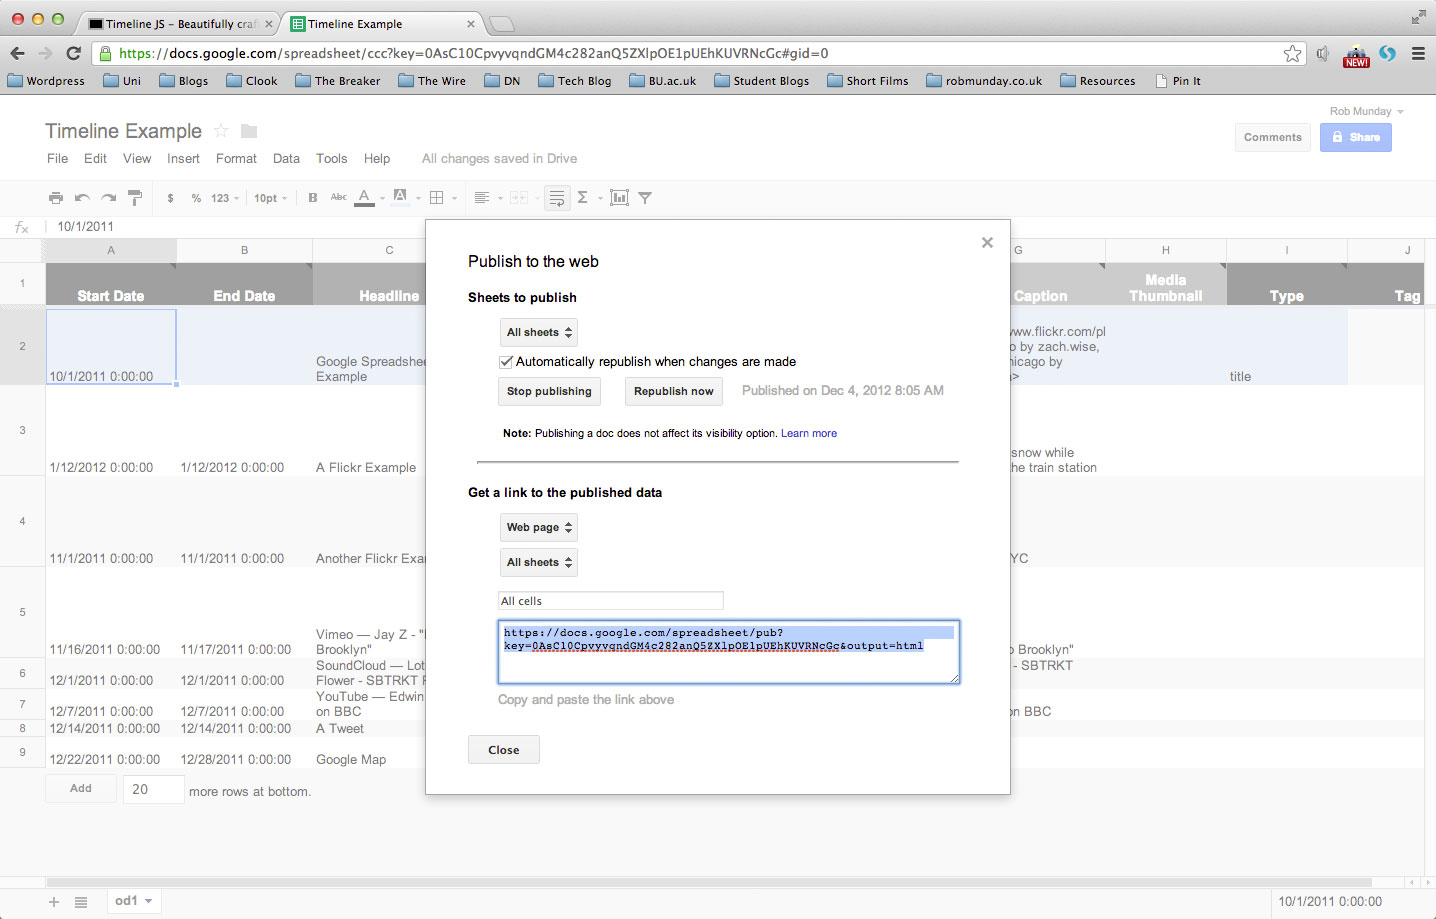
Once you have added all the entries you require to your spreadsheet, you need to publish the file to the web before you can turn it into your timeline.
From the ‘File’ menu, select ‘Publish to the Web’
Step 8.
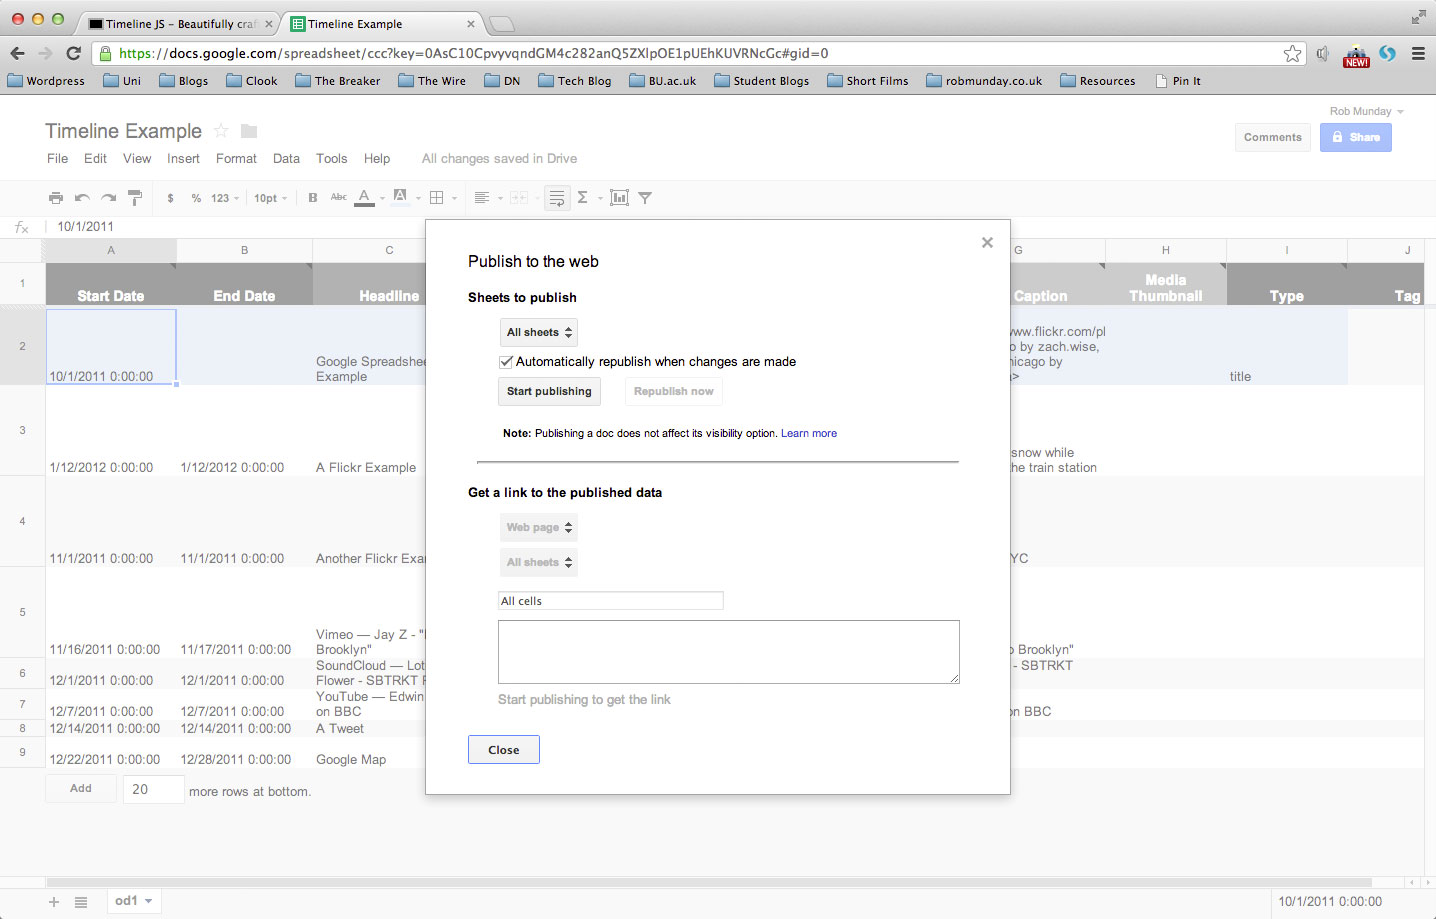
Click on the ‘Start Publishing’ button
Step 9.
Copy the link that appears at the bottom of the pop-up window.
Step 10.
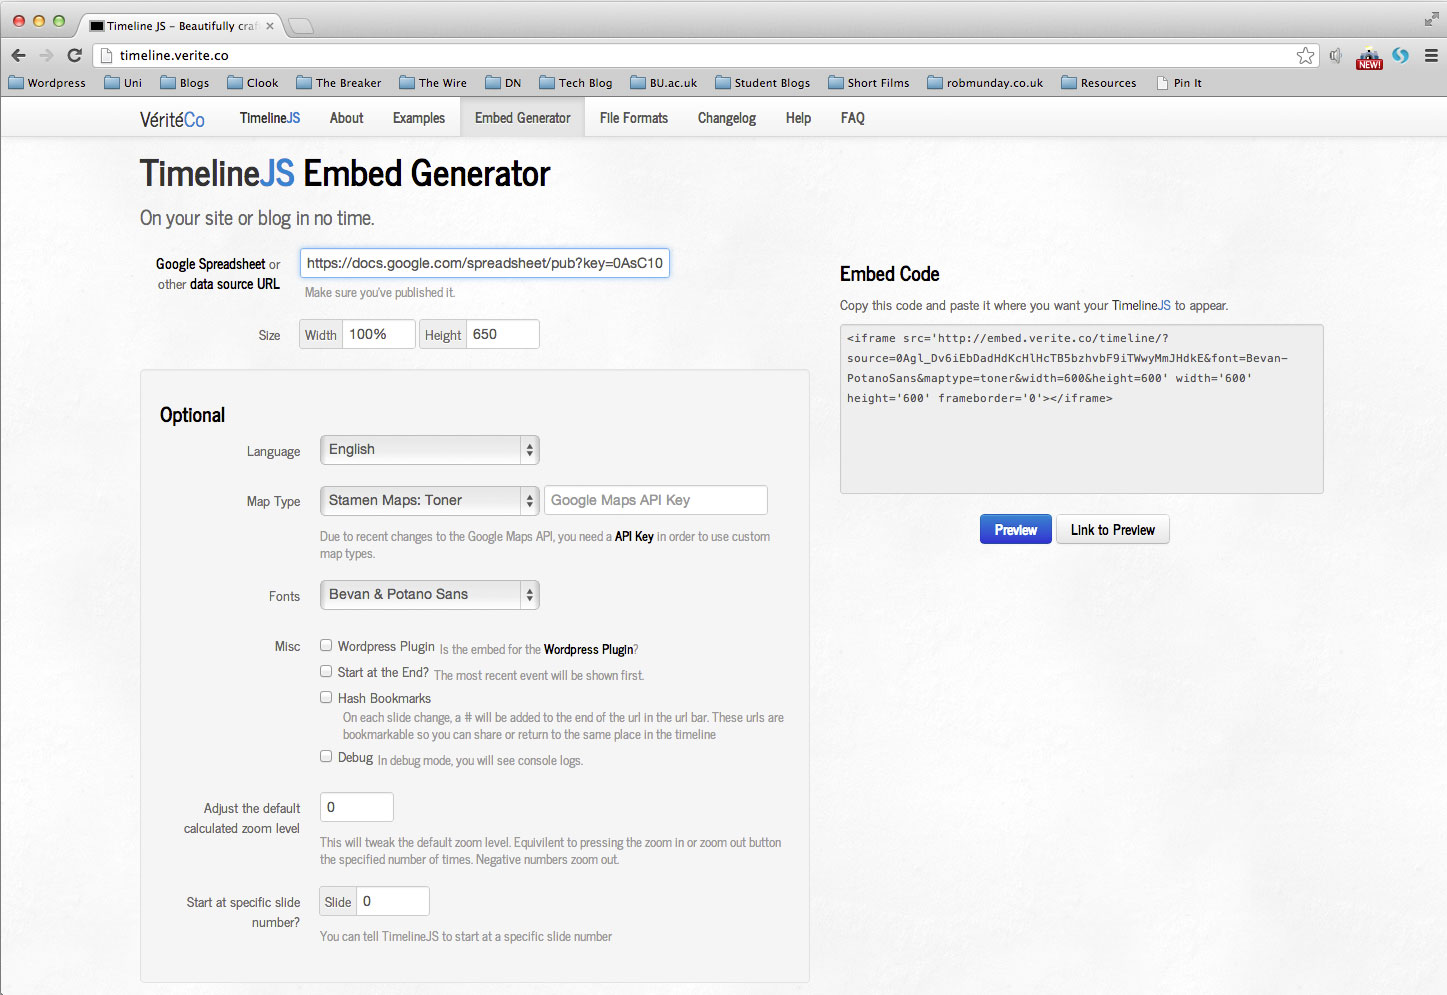
Back on timeline.verite.co, click on the ‘Embed Generator’ option in the menu.
Paste the URL copied from your Google spreadsheet into the ‘Google Spreadsheet or other data source URL’ field.
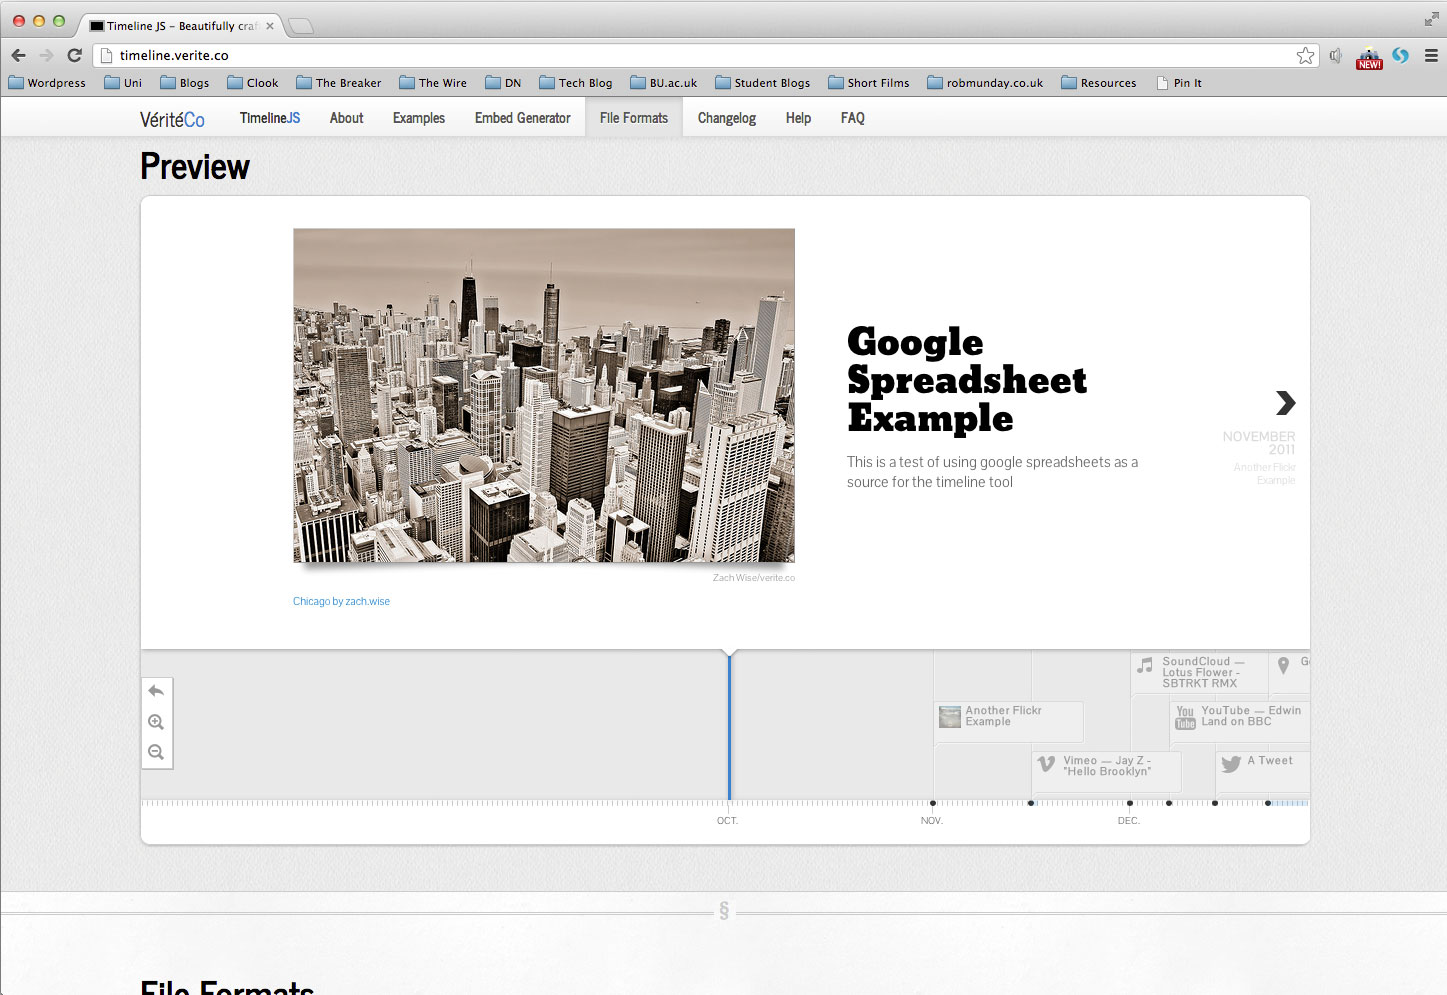
Click on the ‘Preview’ button to view how your Timeline looks
Step 11.
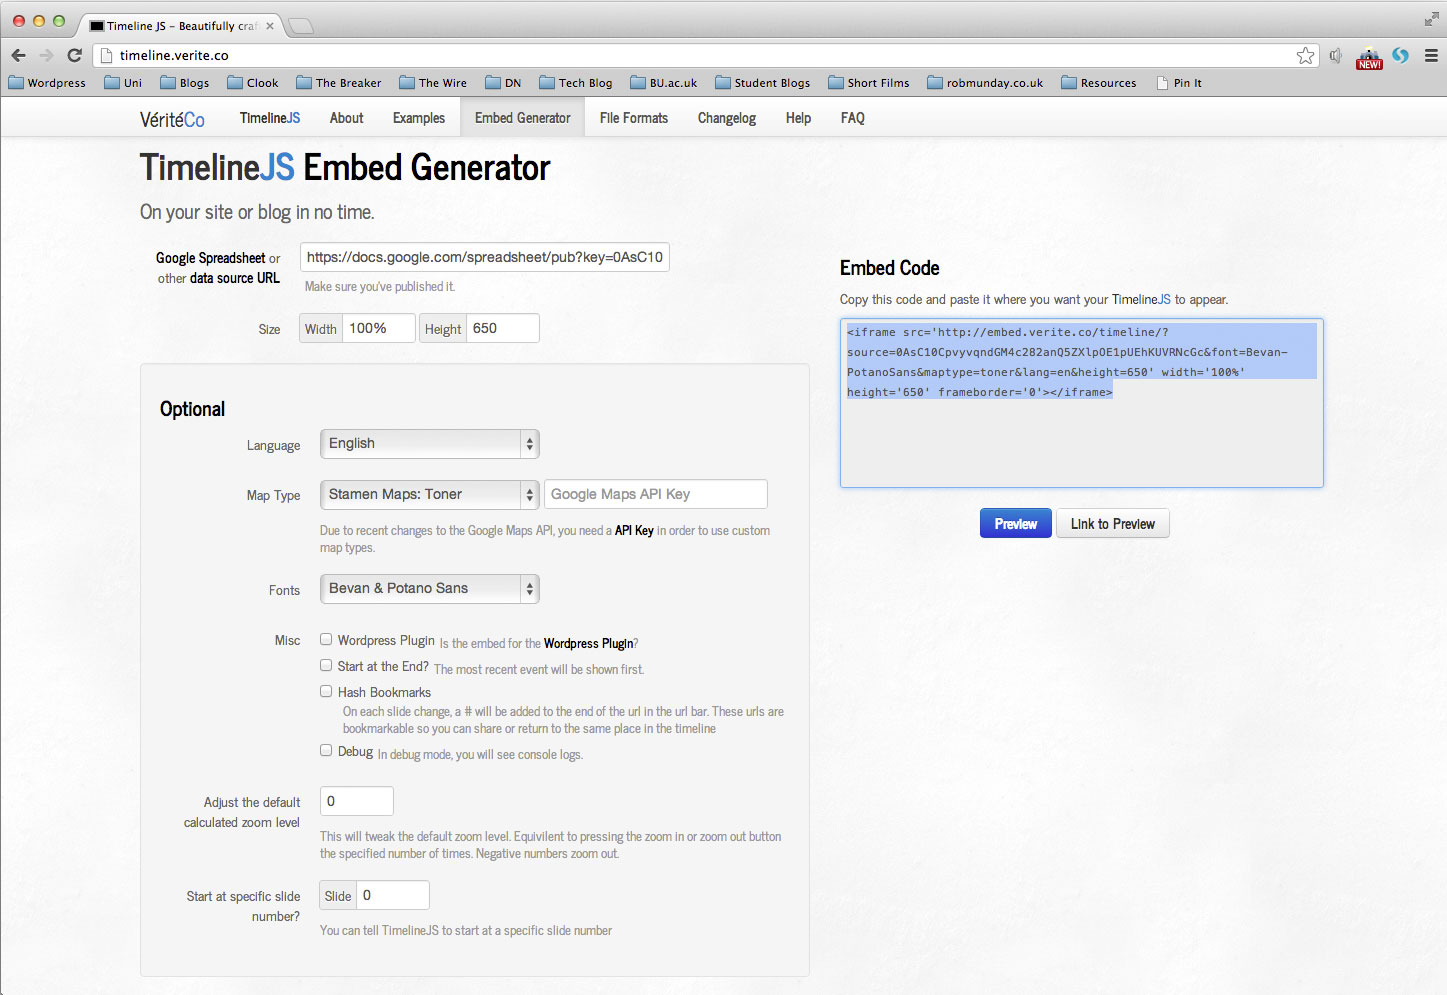
Once you have viewed how your timeline looks/functions in the preview mode, you can either make adjustments or copy the embed code.
Step 12.
To make adjustments, configure the options in the ‘Optional’ panel.
Once your are happy that your timeline is complete, copy the code from the ‘Enmbed Code’ field and paste it into a ‘Post’ on The Breaker (be sure to always enter the code in the HTML editor)


