


Writing & Editing
The majority of your time on the Breaker will be spent writing and formatting your articles – at first this may seem like a time-consuming task, but the more you do it, the easier it becomes. Below are instructions on how you go about writing/formatting a standard news story on the Breaker.
If you prefer to watch videos, instead of reading these guides, view the Adding a New Post playlist on YouTube
Or for a quick guide on writing a post view our Writer’s Guide pdf
Jump to: Add New Post | Writing a Headline | Visual/Text Editor | Pasting into WordPress | Styling Text | Adding Hyperlinks | Writing a Lead | The Excerpt | Categories & Tags | Publish or Schedule
Add New Post
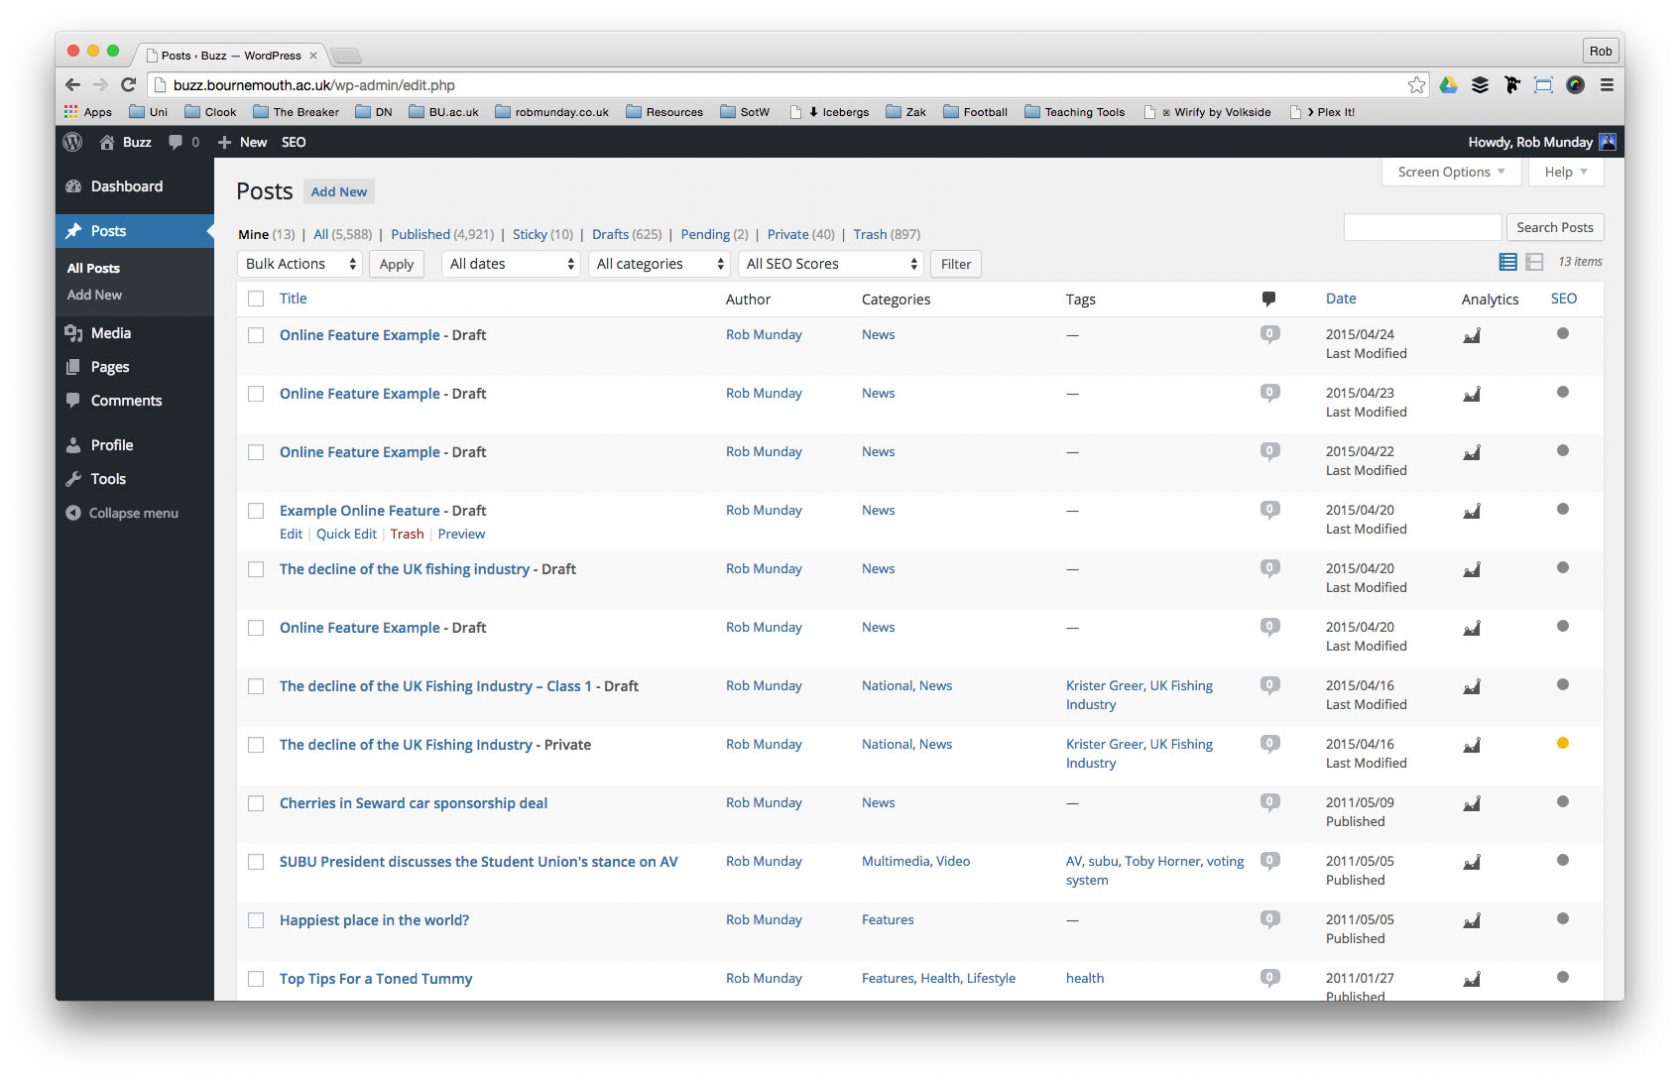
Writing a Headline
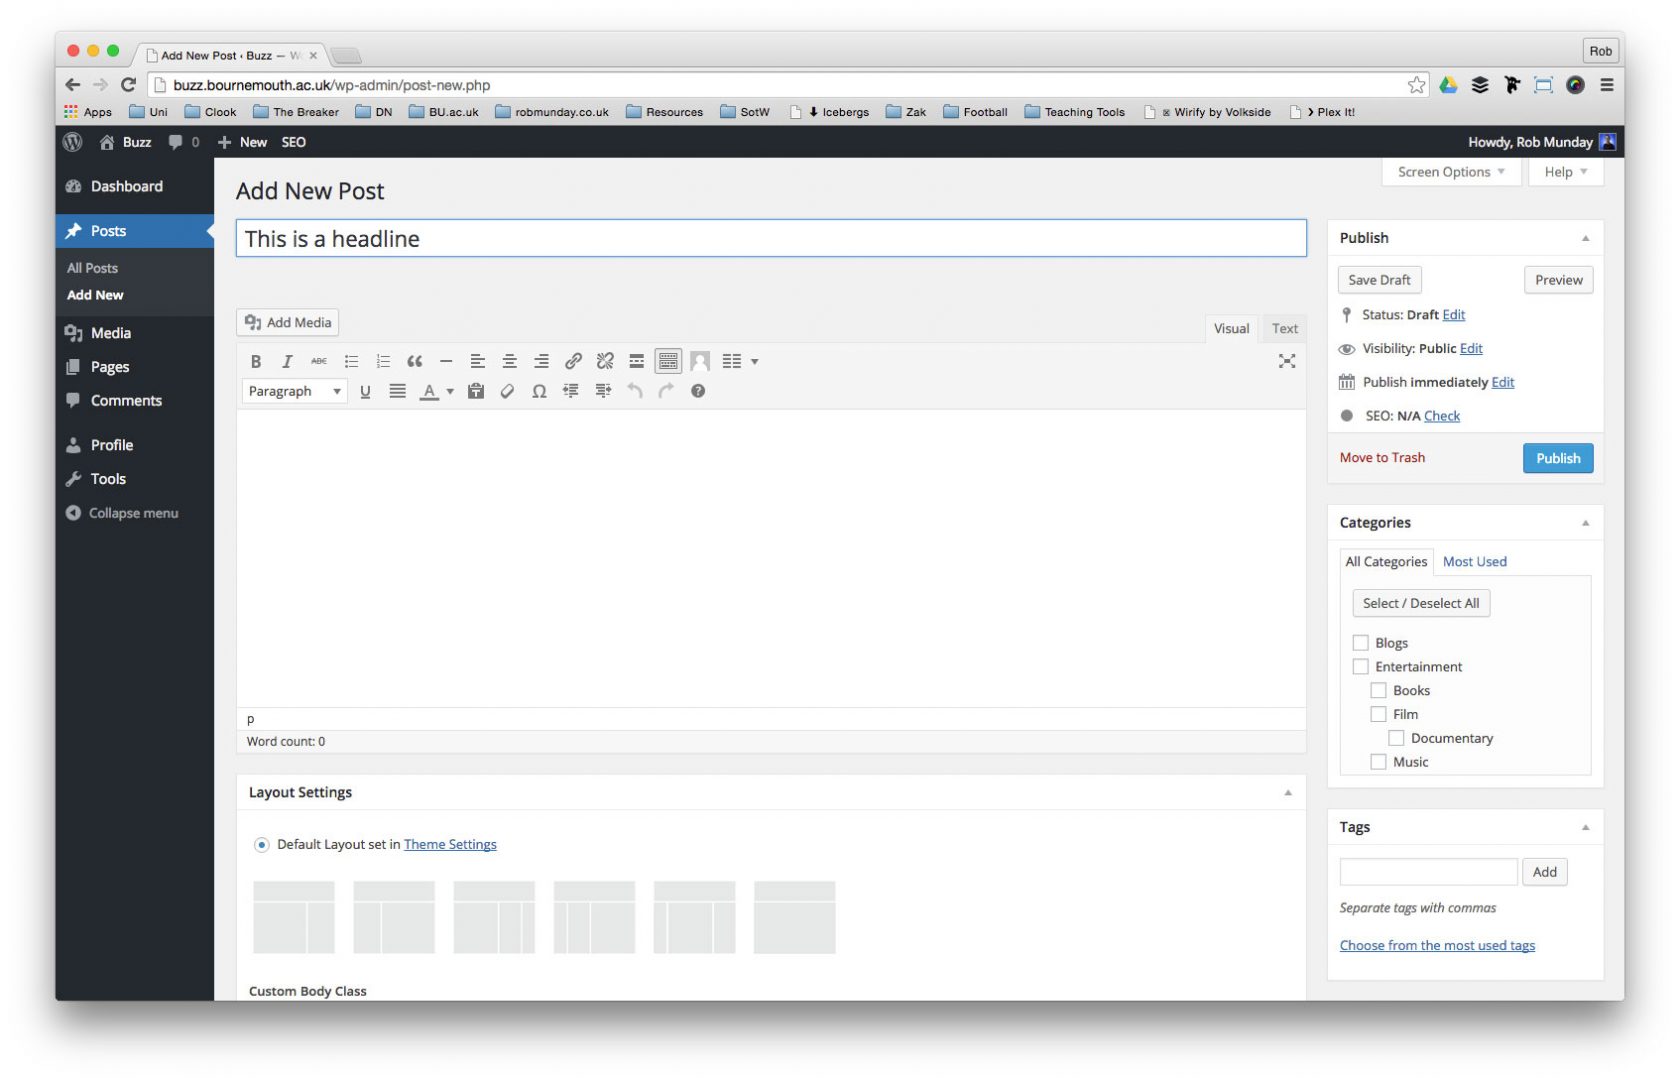
The Post Title
Headlines are one of the most important elements of your article. They will help Search Engines find your story and if written well, they should entice the reader to want to click and read.Headlines are entered at the top of the Add New Post page.
10 Word Limit – ensure Headlines are no longer than 10 words.
Always ‘Sentence Case’ – only the first word and proper nouns in your Headline are capitalised.
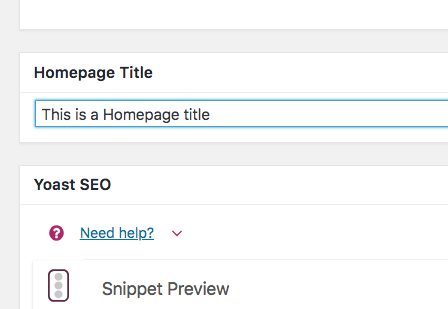
The Homepage Title
The Post headline isn’t the only title Journalists will be asked to write for their article. At times you may be asked to write two, three or four headlines for different platforms or areas of the site. A common formatting option on News websites is to have a longer headline within the post (usually no longer than 10-12 words) and a shorter headline which will show on the homepage (usually no longer than 6-8 words). You can add your shorter headline in the ‘Homepage Title’ field.
Eight Word Limit – ensure these Headlines are no longer than eight words.
For examples of these different types of headlines check out the BBC and Guardian sites – count how many words in the headline on the homepage and then click into the article and count again. Is it different?
The Visual/Text Editor

When creating a new story on BUzz, you have two editing modes available to you – the Visual editor and the Text Editor.
Visual Editor: The default mode for writing. Works much like Microsoft Word – where toolbars are used to format your text.
Text Editor: Allows writers to write their posts in HTML – only advisable to use if you’re comfortable with HTML. The Text Editor will prove useful when embedding content from other sites.
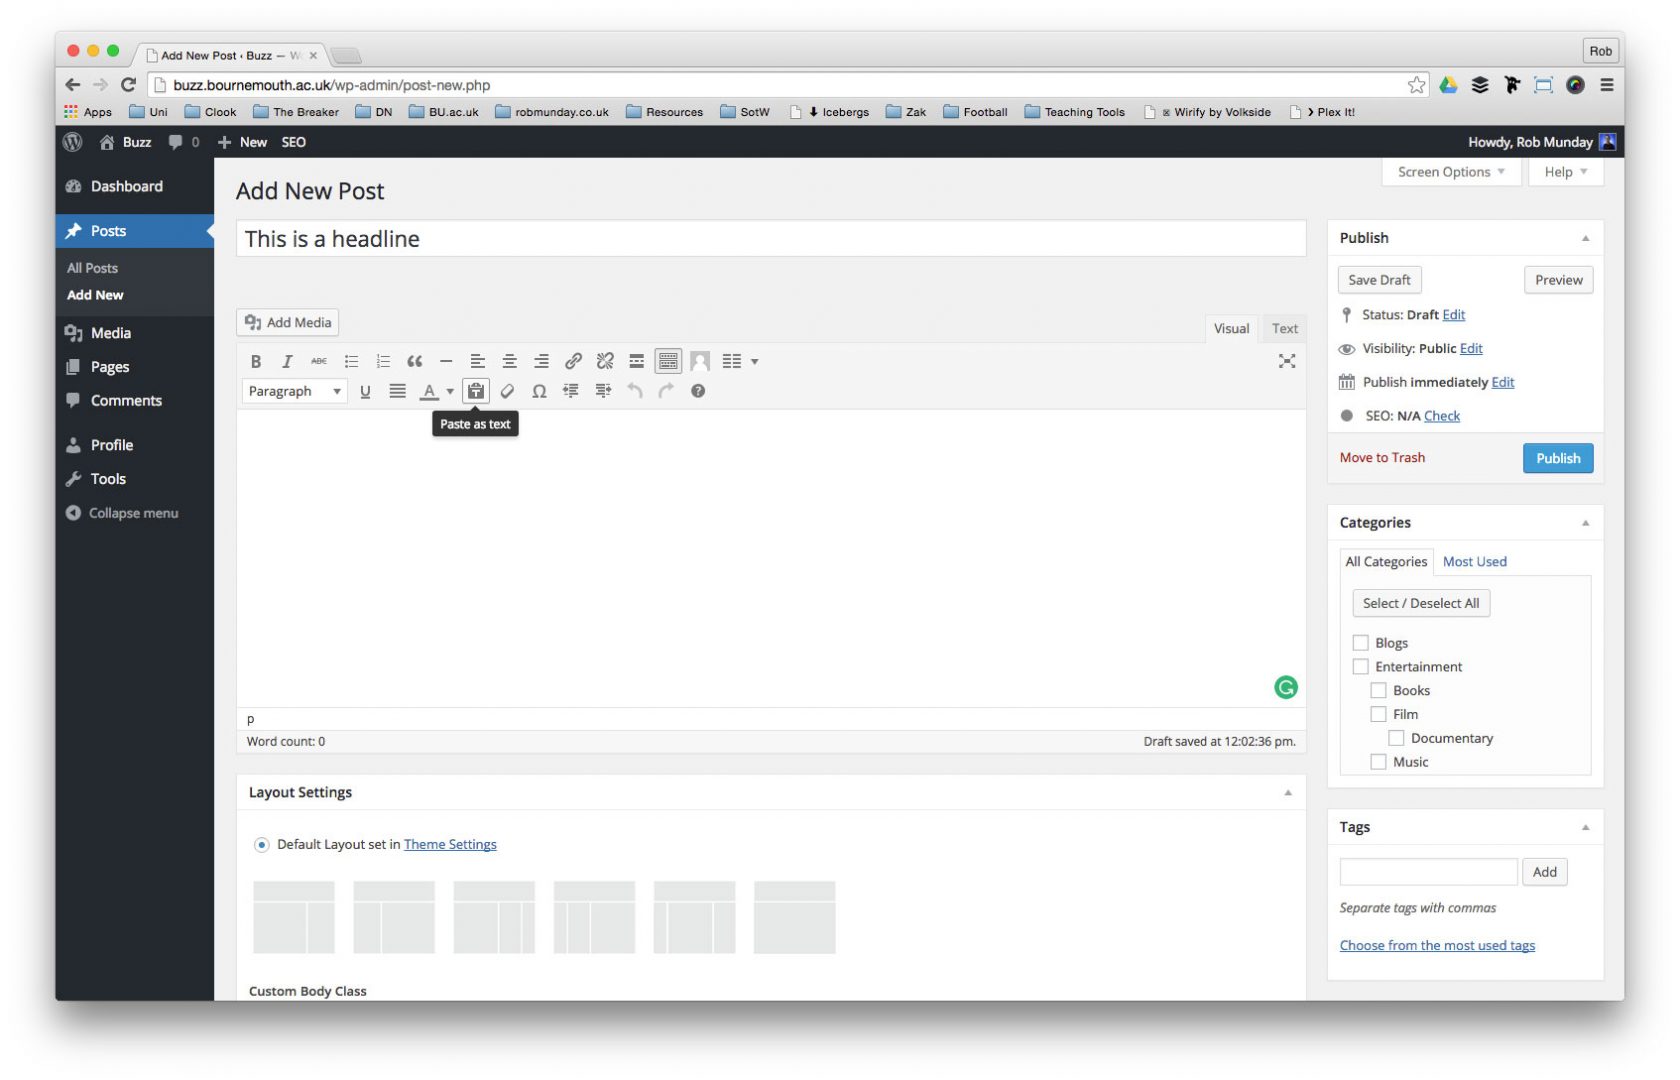
Pasting into a Post
Styling Text
The Post editor within the BUzz CMS contains various options for styling your articles. Unless you know HTML, it is advised that you always use the Visual Editor and the buttons available to take advantage of these styling options.


- Style – The style drop-down menu allows you to change the formatting of any selected text.
- Bold – Add a strong emphasis to selected text to make it stand out.
- Italic – Italic formatting is often used online to highlight names and titles.
- Unordered List – Present information in a list in no defined ordered – separated by bullet points.
- Ordered List – Present information in an ordered list defined by numbers.
- Blockquote – A way of presenting/emphasing quoted text.
- Left Align – Align Text (or Images) to the left.
- Center Align – Align Text (or Images) in the center.
- Right Align – Align Text (or Images) to the right.
- Insert/Edit Link – Used to insert hyperlinks or edit hyperlinks that already exist in your article (covered in detail below).
- Insert Read More Tag – As we use Excerpts on BUzz, this button isn’t used.
- Toggle Toolbar – Enables the second row of editing icons – if you can’t find some of the style buttons in this guide, make sure this button is enabled.
- Strike through – When used online the strike through formatting is employed to
showcasehighlight recently deleted information. It can also be used deliberately to imply a change of thought. - Horizontal Line – Insert a line into your article, can be useful for breaking text into sections.
Text Colour – Use the text colour button to change the colour of the selected text. We don’t advise using this too much, try to keep text colour to the house style unless really important to your article.
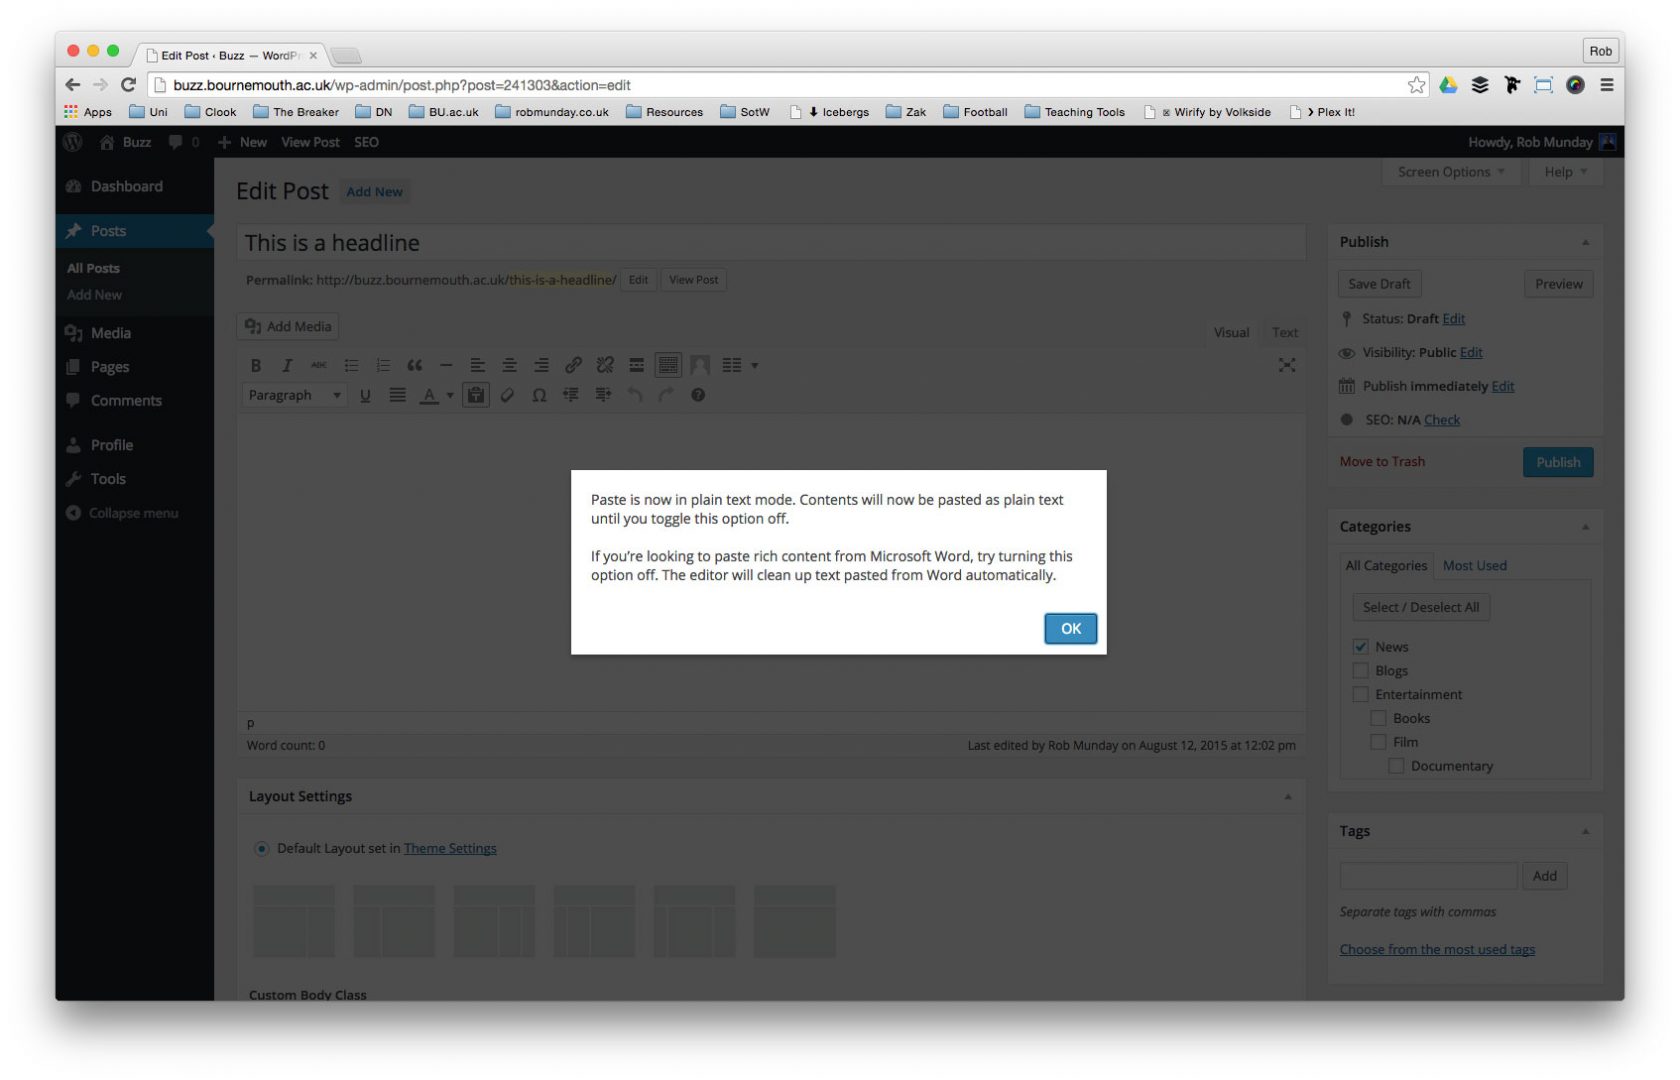
- Paste as Plain Text – Paste text in without copying over any unwanted code
- Clear Formatting – Remove any formatting applied to text
- Special Character – Insert a character that can’t be found on your keyboard.
- Decrease Indent – Move selected text inwards (to the left).
- Increase Indent – Move selected text outwards (to the right).
Undo – Undo the last edit you made on a page.
- Redo – Reapply an edit after you have removed it using Undo.
- Keyboard Shortcuts – See a list of shortcut key combinations that can be used to make editing quicker.
Watch the Video
A video tutorial on how to create a new post on The Breaker, including: Pasting unformatted Text, Basic Formatting & Writing a Headline
Adding Hyperlinks
Hyperlinks are the backbone of the internet and the use of Hyperlinks is vital in online journalism as not only do they add interactivity to a Post, but linking to relevant websites/webpages will add context to your article.
A hyperlink (or link) is a word, group of words, or image that you can click on to jump to a new document or a new section within the current document. – www.w3schools.com
An element in an electronic document that links to another place in the same document or to an entirely different document. Typically, you click on the hyperlink to follow the link. Hyperlinks are the most essential ingredient of all hypertext systems, including the World Wide Web. – www.webopedia.com
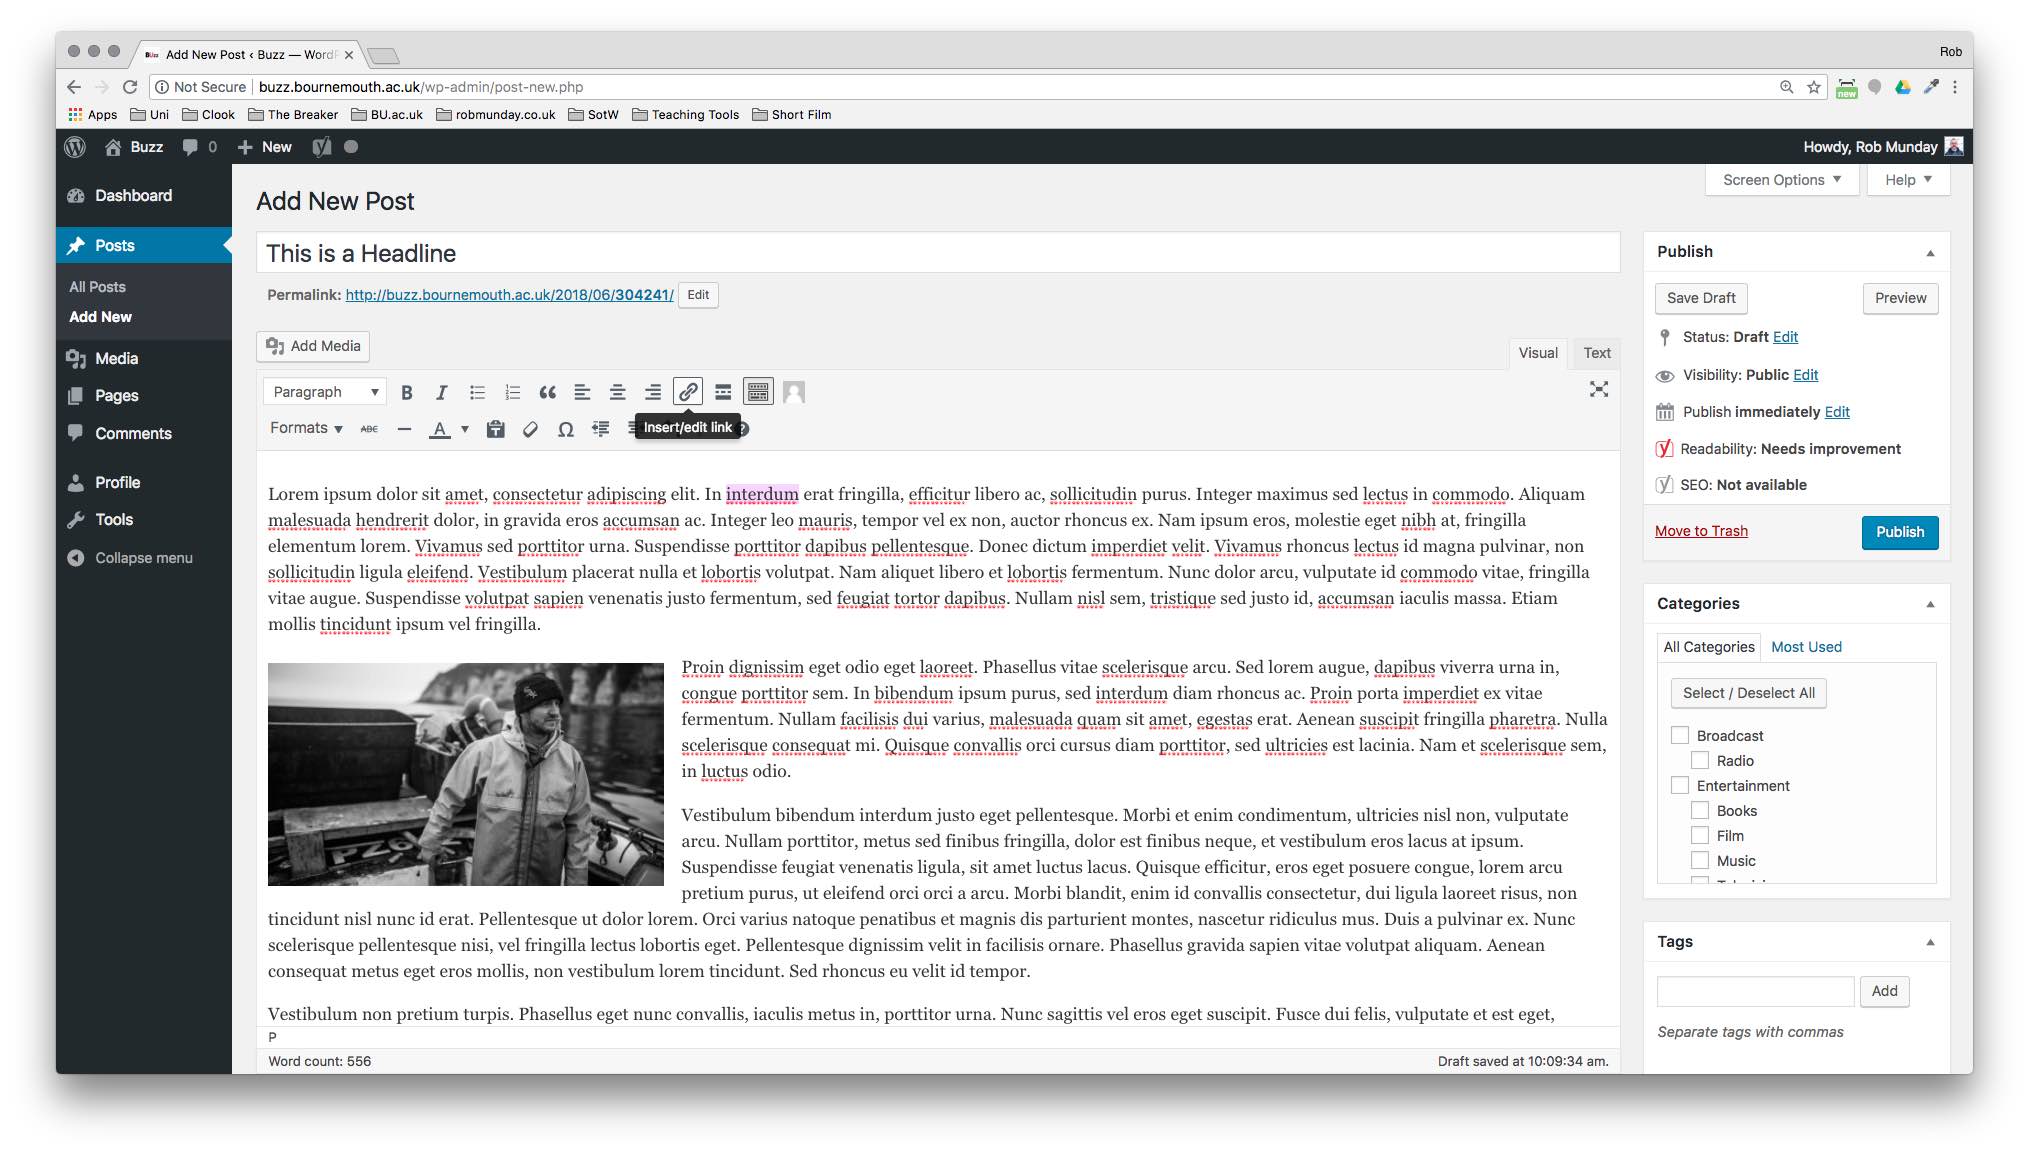
Hyperlinks can be attached to text or images – highlight the selection you want to make a Hyperlink.
To add a Hyperlink to your selection, click on the Insert/Edit link button

Once you’ve clicked on the Insert/Edit link button a small dialogue windows appears under the text/image you have selected.
Enter the target URL into the empty text field and hit enter to apply the link.
To see more options, click on the Link Options cog.
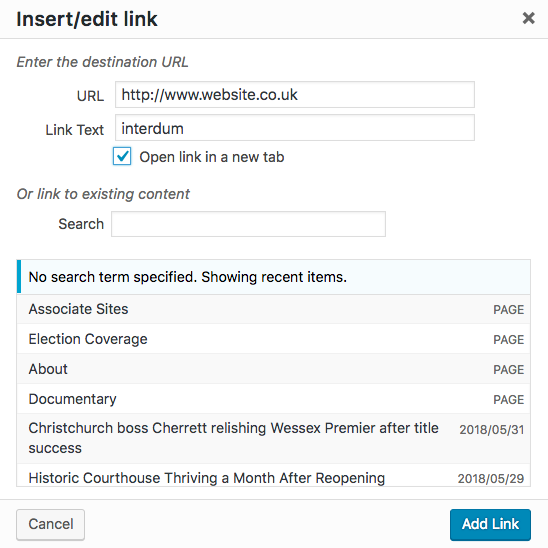
After clicking on the Link Options cog a new window opens with more options for your hyperlink
Enter the target link into the URL field – this can be copied and pasted from the address bar of a browser window or typed directly in.
Tick the Open link in a new window/tab box to ensure the target link doesn’t open in the current window/tab and take viewers away from your article.
If you want to link to another article already on BUzz, use the or link to existing content section to search for relevant Posts.
Once you’ve finished adding all the necessary information for your Hyperlink click on the Add Link button.
Your Hyperlink will now have been added. If your selection was text it should have now become coloured and underlined, if it was an image you probably won’t notice any difference until you preview your Post and click on the image.
To edit or remove the Hyperlink once inserted, select the linked item and click on the Insert/Edit link button.
Adding a Lead
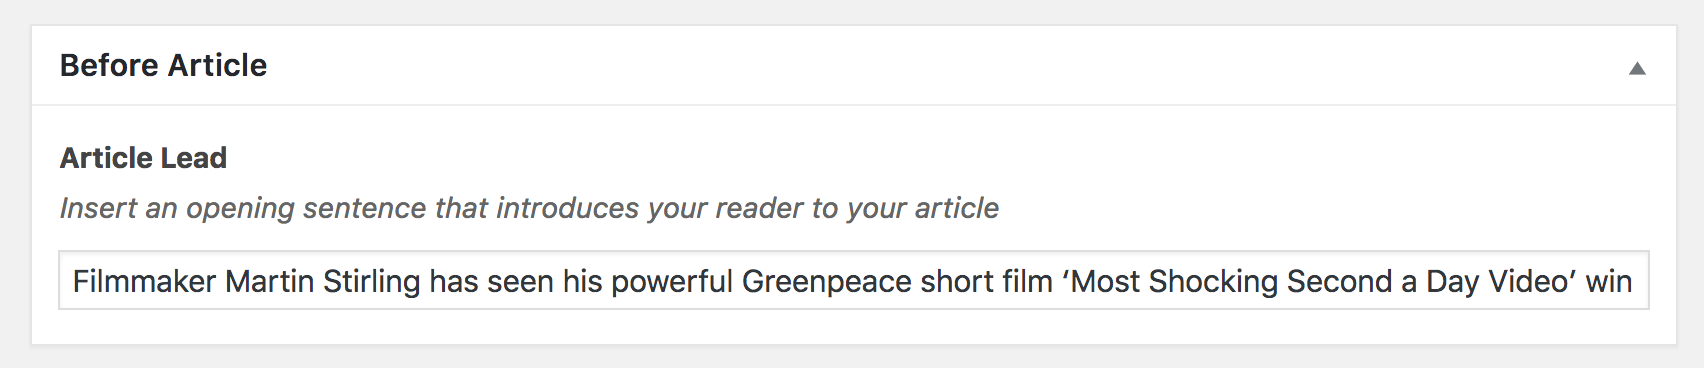

The Lead, or opening paragraph/sentence of your article is vital in setting the one of the article and making your reader want to know more.
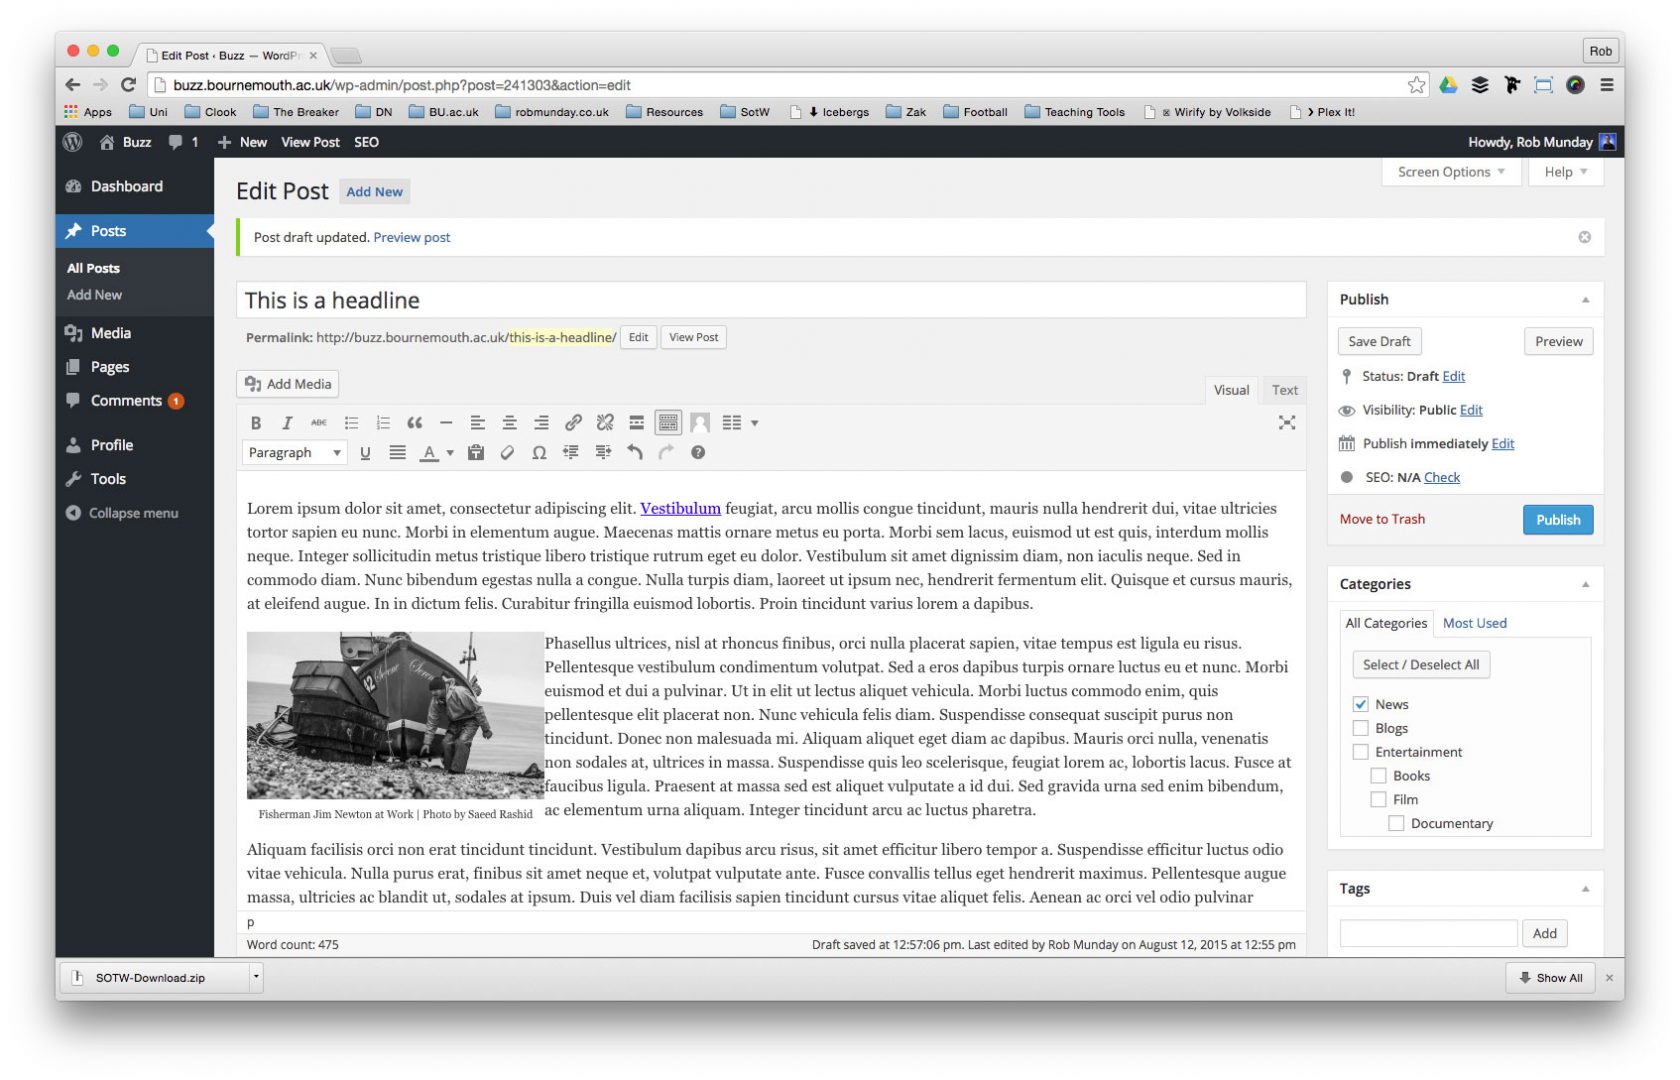
On Buzz we don’t add the lead into our body text, but into a special field (see image on left) which means it is placed just underneath the headline and formatted differently from the rest of the text in the article.
“A lead is a promise. It promises that the piece of writing is going to be like this” – John McPhee
The Excerpt
The Excerpt field in WordPress is used to provide a short introductions to your story, ensure you fill them in to provide potential readers with a short description of your Post and to ensure consistency on our site.

Add your text to the Excerpt field on the Add/Edit Post page – don’t exceed the 90-character limit.

If you can’t see the Excerpt field, it can be turned on in the Screen Options at the top of the Add/Edit Post page.
Categories & Tags
Before publishing a story it needs to be attached to a Category and assigned Tags.
Categories: Offers broad grouping for Posts
Tags: Tags work like Categories in the sense that they are used to group Posts together, but offer a much wider option and are generally used to describe your Post in more detail.
You can assign Categories and Tags to your Post at any point during the writing process. However, it might make sense to do it at the end, once the article is complete, as it may help you decide on the exact Categories and Tags you want to use.
Categories vs Tags – Read More

Every Post needs to be assigned to at least one Category. Assign Categories by selecting them from the Categories panel on the right-hand side of the Edit Post page.
Whilst it is possible to assign Posts to more than one Category, doing so means often stories will often appear duplicated across the website.
Assign to One/Two Categories – Never assign your post to more than two categories and always try to pick the most relevant category
Tags need to be entered into the field under the Categories panel on the right-hand side of the Edit Post page. Tags should be typed into the field and separated by commas.
Maximum of Six tags per post – Although there is no limit in place to restrict on the amount of Tags you can add to a Post on the Breaker, for consistency and bast practice we stick to a maximum of no more than 6 per post.
If you want to see the Tags that have been most used on the Breaker, click on the Choose from the most used tags link, under the Tags field. A Tag can then be clicked on to assign it to your Post.
Examples of ‘Tags’: If you were writing an article on AFC Bournemouth manager Eddie Howe, you could Tag your Post with: Eddie Howe, Football, AFC Bournemouth
Save or Submit

Once you have finished writing and styling your Post, it will need to be checked by an Editor or member of Staff before going live. To send it through for editorial checking click on the Submit for Review button. If there are no problems it will be published. If there are changes needed it will be resaved as a draft and you will be notified of the changes needed.
Watch the Video
A video tutorial on how to create a new post on The Breaker, including: Writing a Lead, Inserting an Excerpt, Adding Hyperlinks, Categories & Tags and how to Submit for Review